I wanted to build up a nested NSX-T enviroment in order to learning it and tested it as I do for the vSphere part, so I started to think how configure all the network stuff in my lab and I took some parts of the configuration of my Homelab directly from the nice blog of the expert Rutger Blom. (if you are interested on NSX-T I really suggest to you to follow his blog).
I start by describing a little bit my homelab in order to give you a proper overview of my “specific” case and how I configured everything.
Before start just a reminder, as I stated on the phrase above this is a lab enviroment, if you need to implement this solution on a Production Enviroment please follow the documents published by VMware:
In my homelab at the moment I don’t have mutiple Server, so I’ll use my physical ESXI in order to host a new dedicated nested vCenter/vSphere Enviroment and also all the Virtual Appliances needed to run NSX-T.
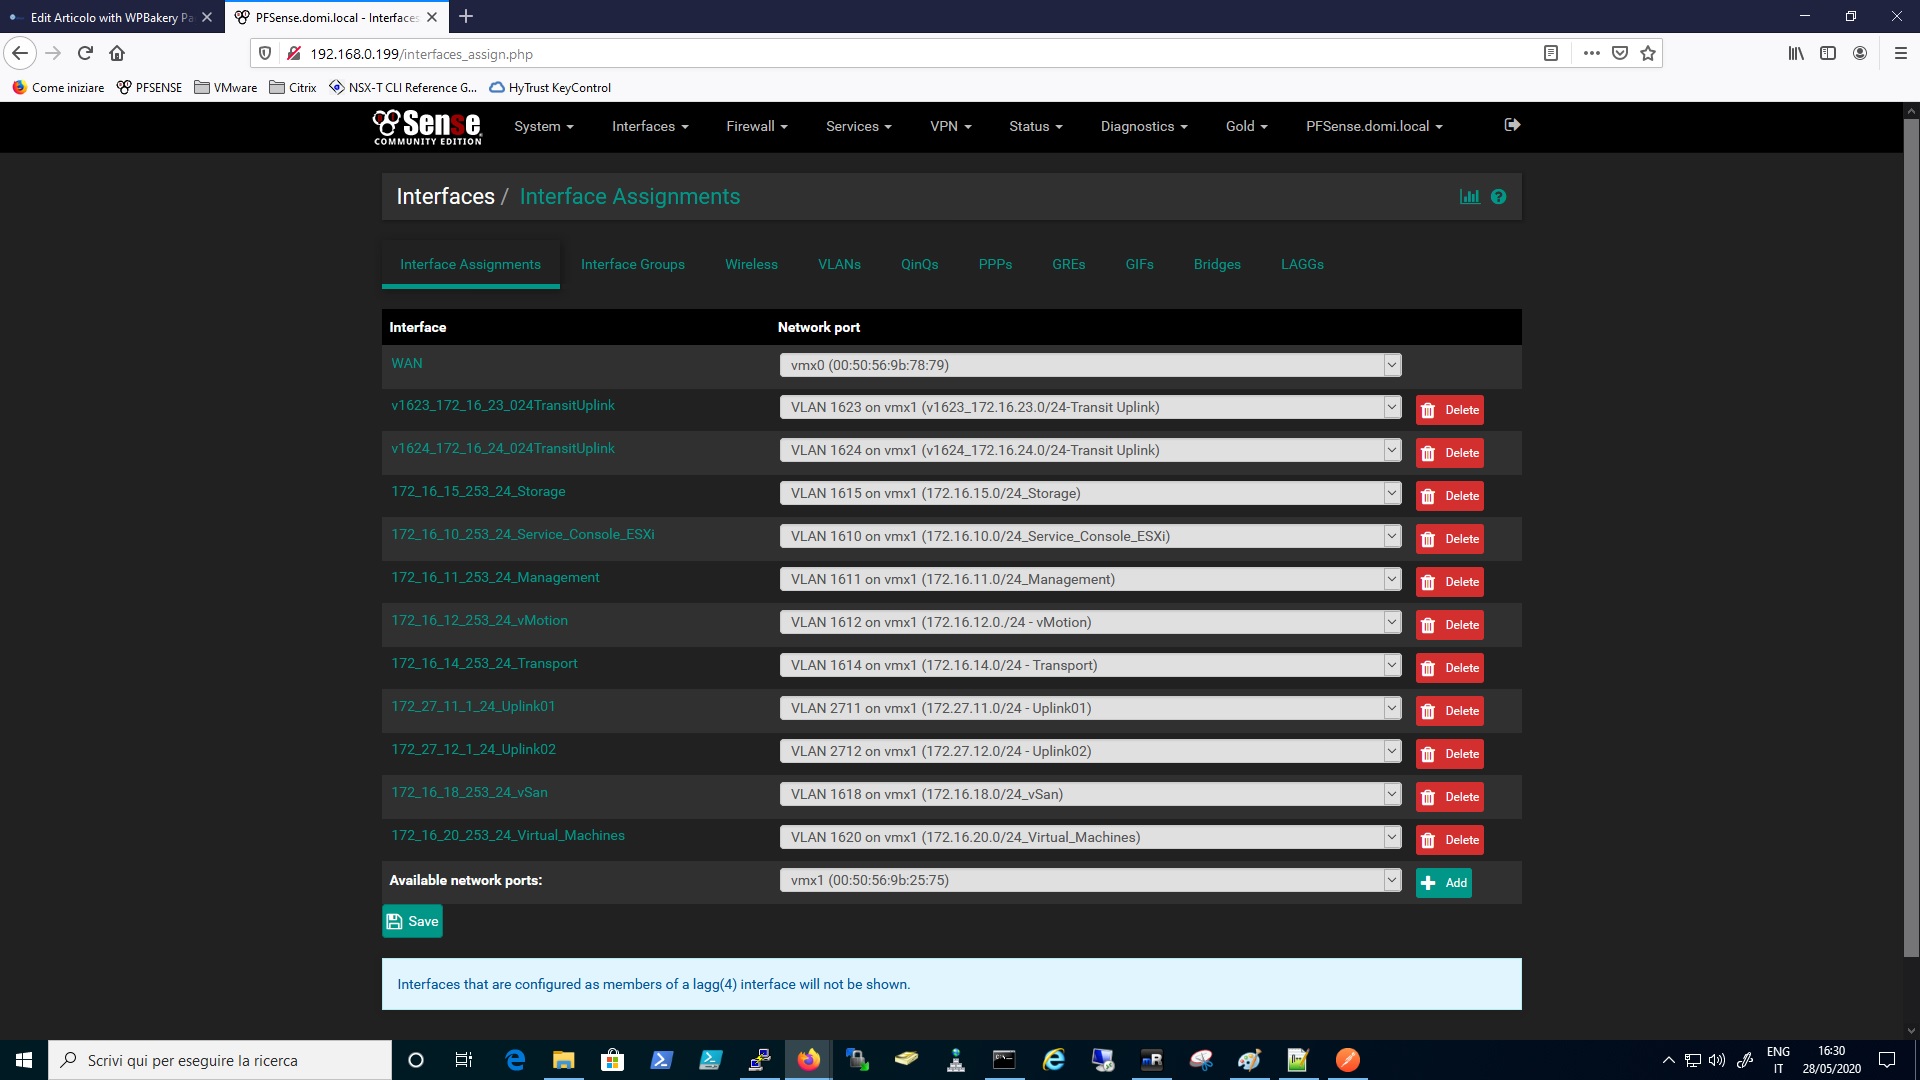
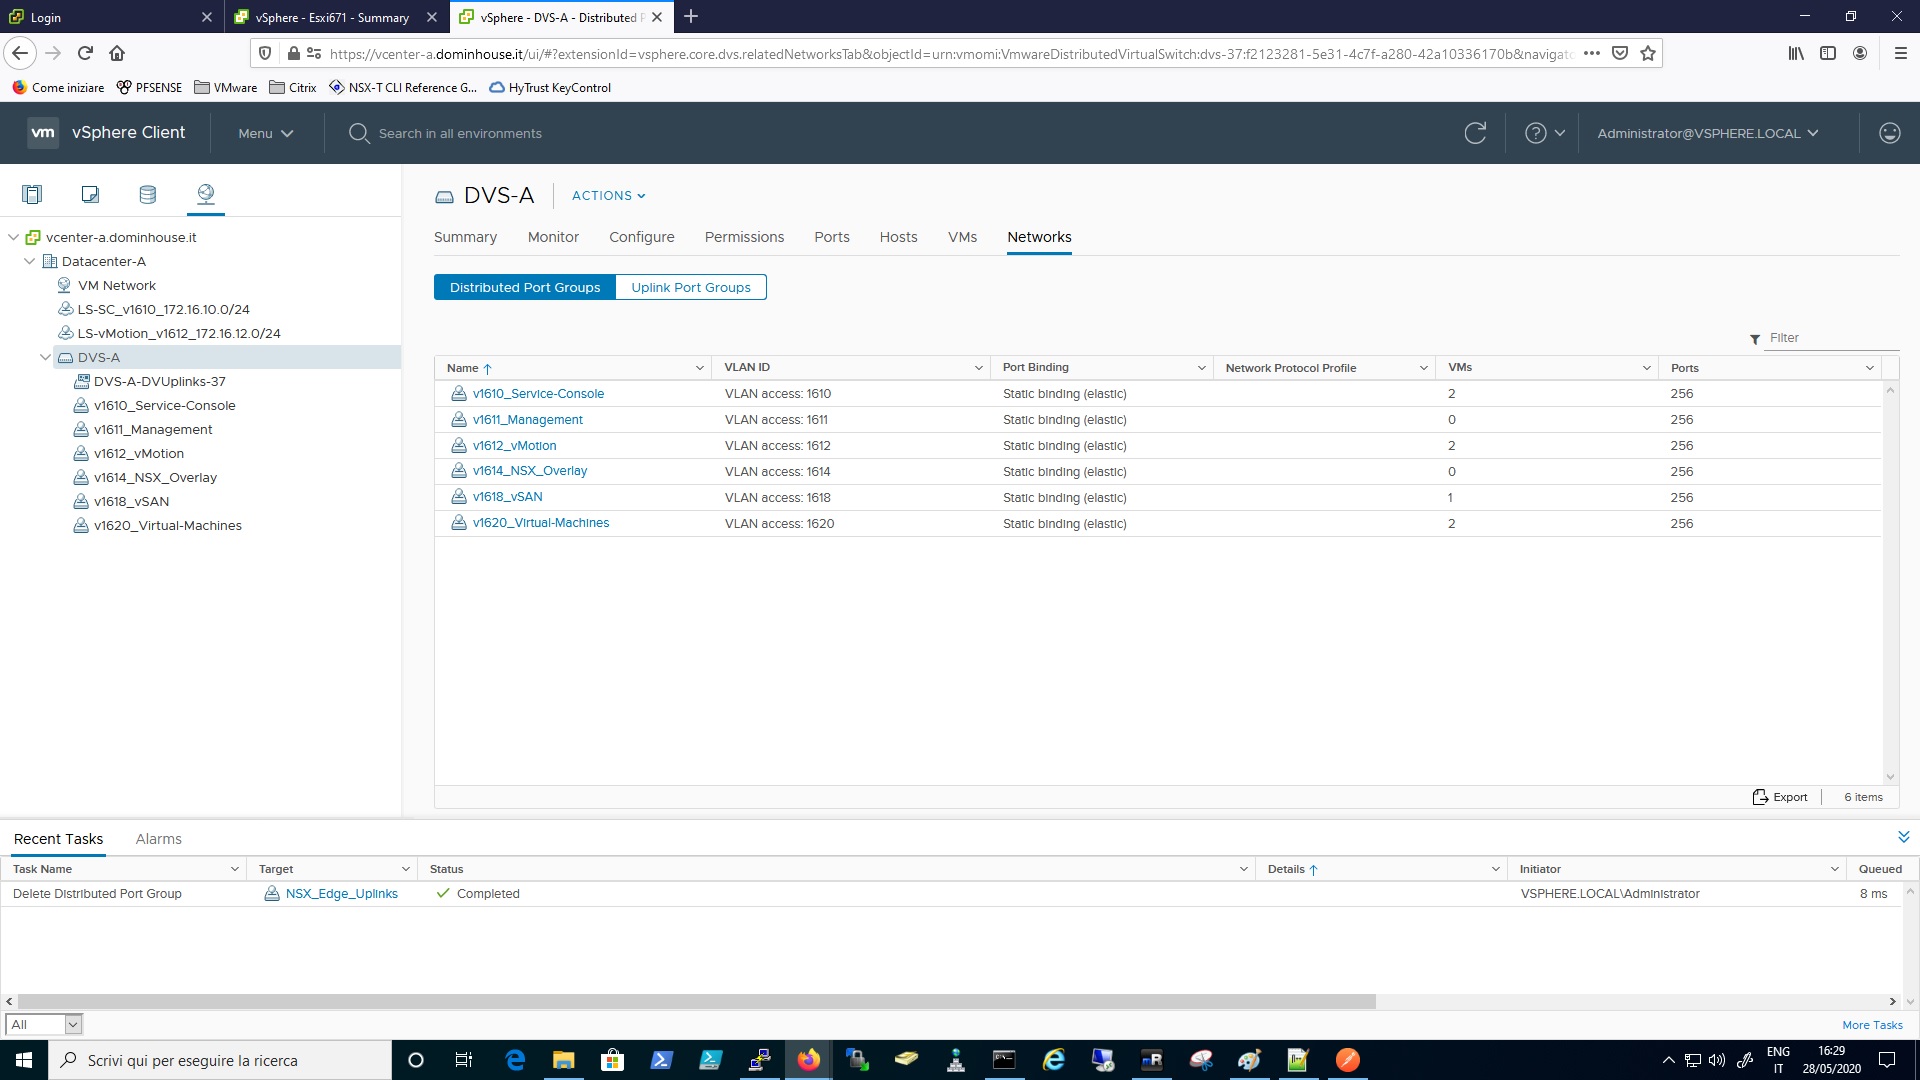
In order to separate different networks I used a PFsense virtual router with the OPENBGP module installed within it. I also created dedicated networks on it that I’ll use for the lab construction:
- v1610 – 172.16.10.0/24 for the ESXI managment
- v1611 – 172.16.11.0/24 a network for the vCenter, NSX Manager and other appliances
- v1612 – 172.16.12.0/24 vMotion Network
- v1614 – 172.16.14.0/24 TEP
- v1623 -172.16.23.0/24 Transit vlan for the first UPLINK
- v1624 – 172.16.24.0/24 Transit vlan for the second UPLINK
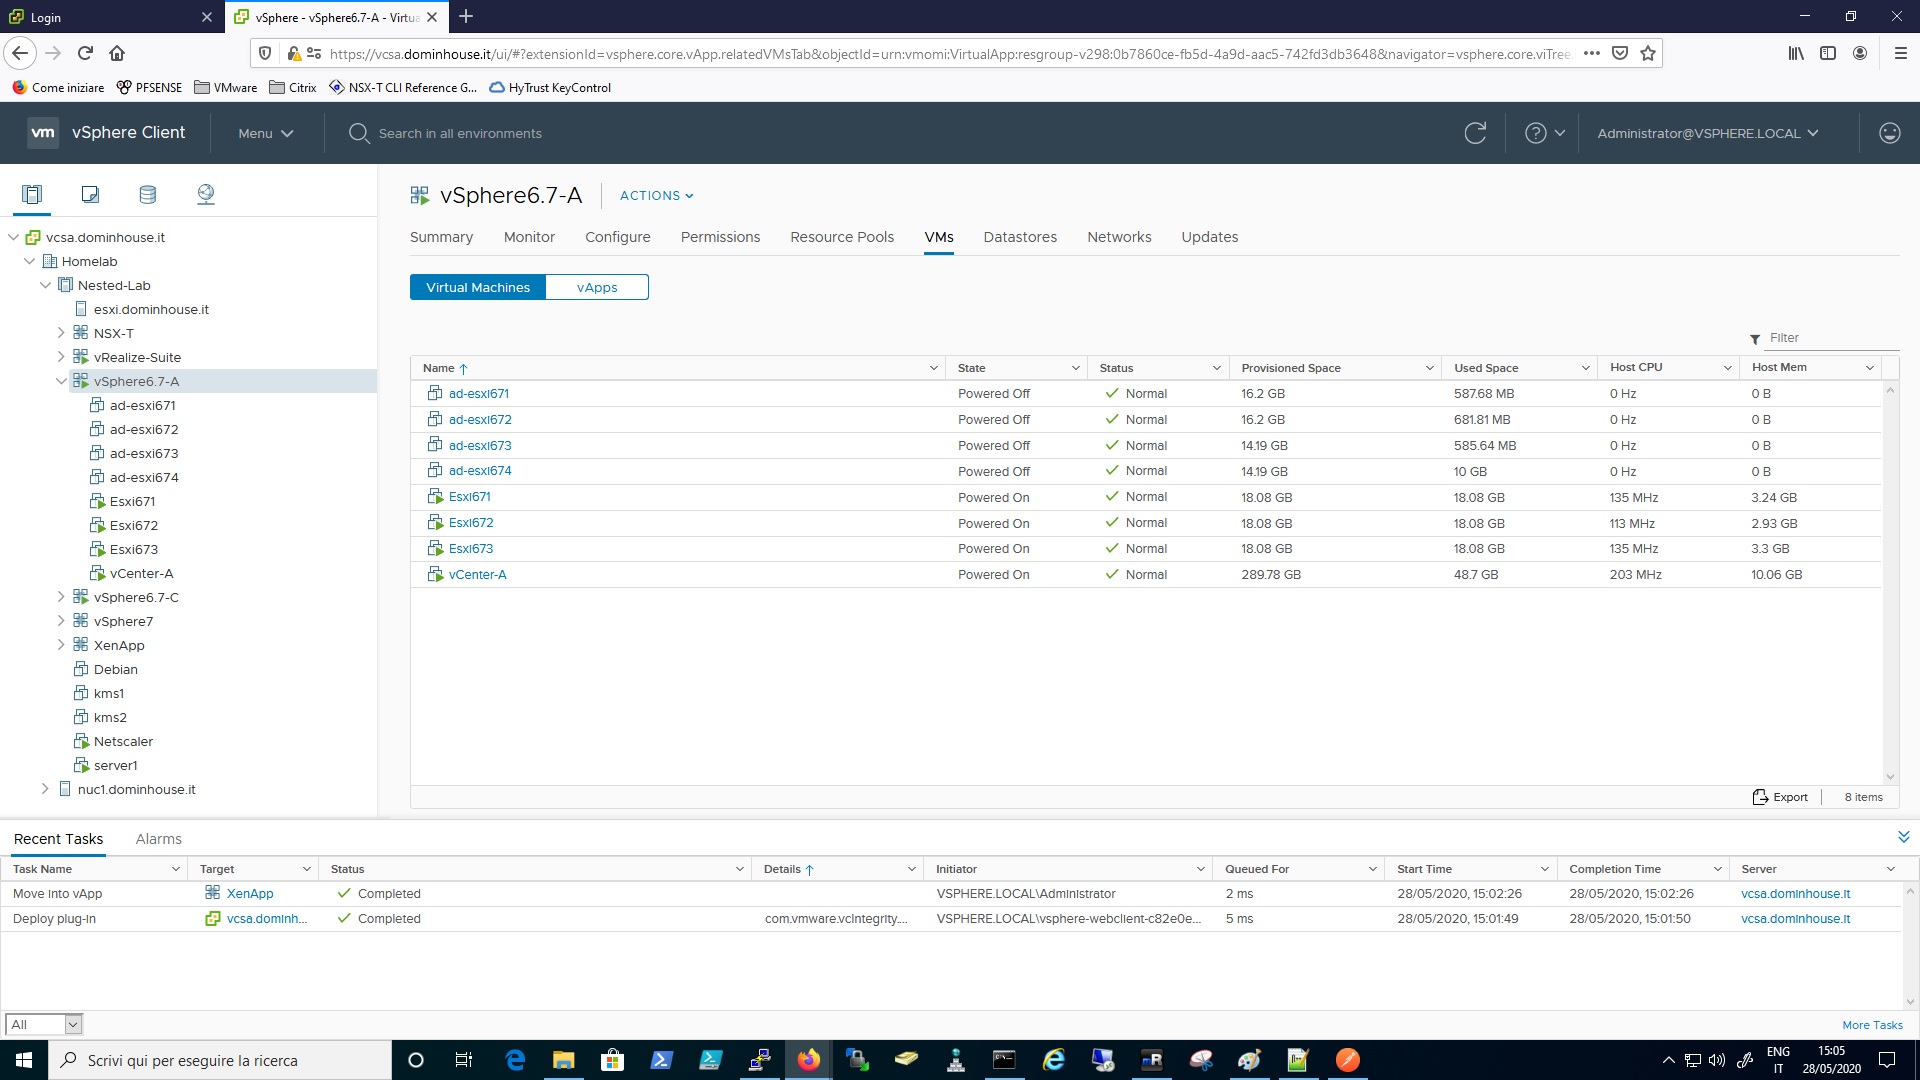
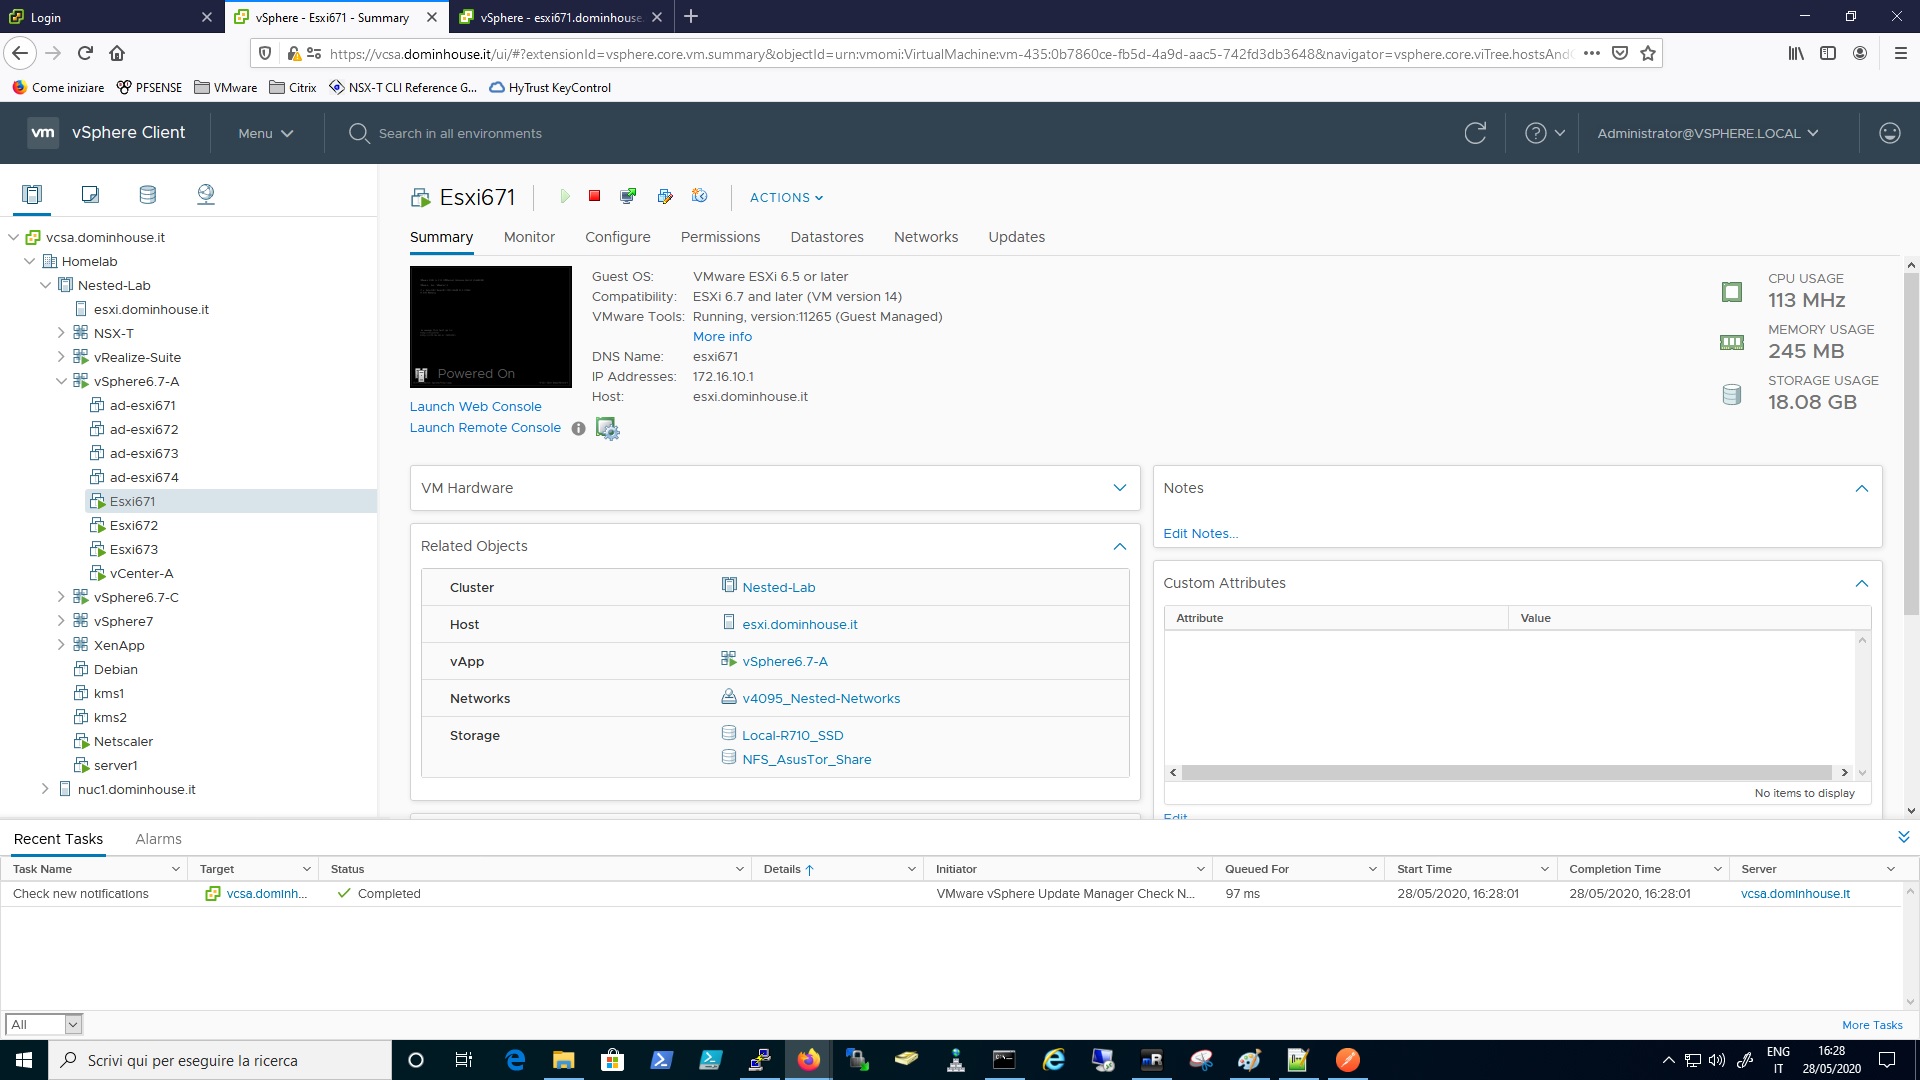
So what I did after that is install a new vCenter server and 3 Virtual Machines for the Nested ESXI Hosts ( 4 vcpu and 8gb Ram Each), as you can see on the gallery below.
On the PFSense side I created all the need Interfaces with the correct vlan tag.
I set up the PFSense VM with the first uplink connected on my physical network (192.168.0.0) and the second uplink to the port group with the configuration “trunking 0-4095” in order manage all the nested network created for the lab purposes. In addiction to that I created a specific VDS with no Uplink in order to have in PFSense the main gateway router for all my lab networks.
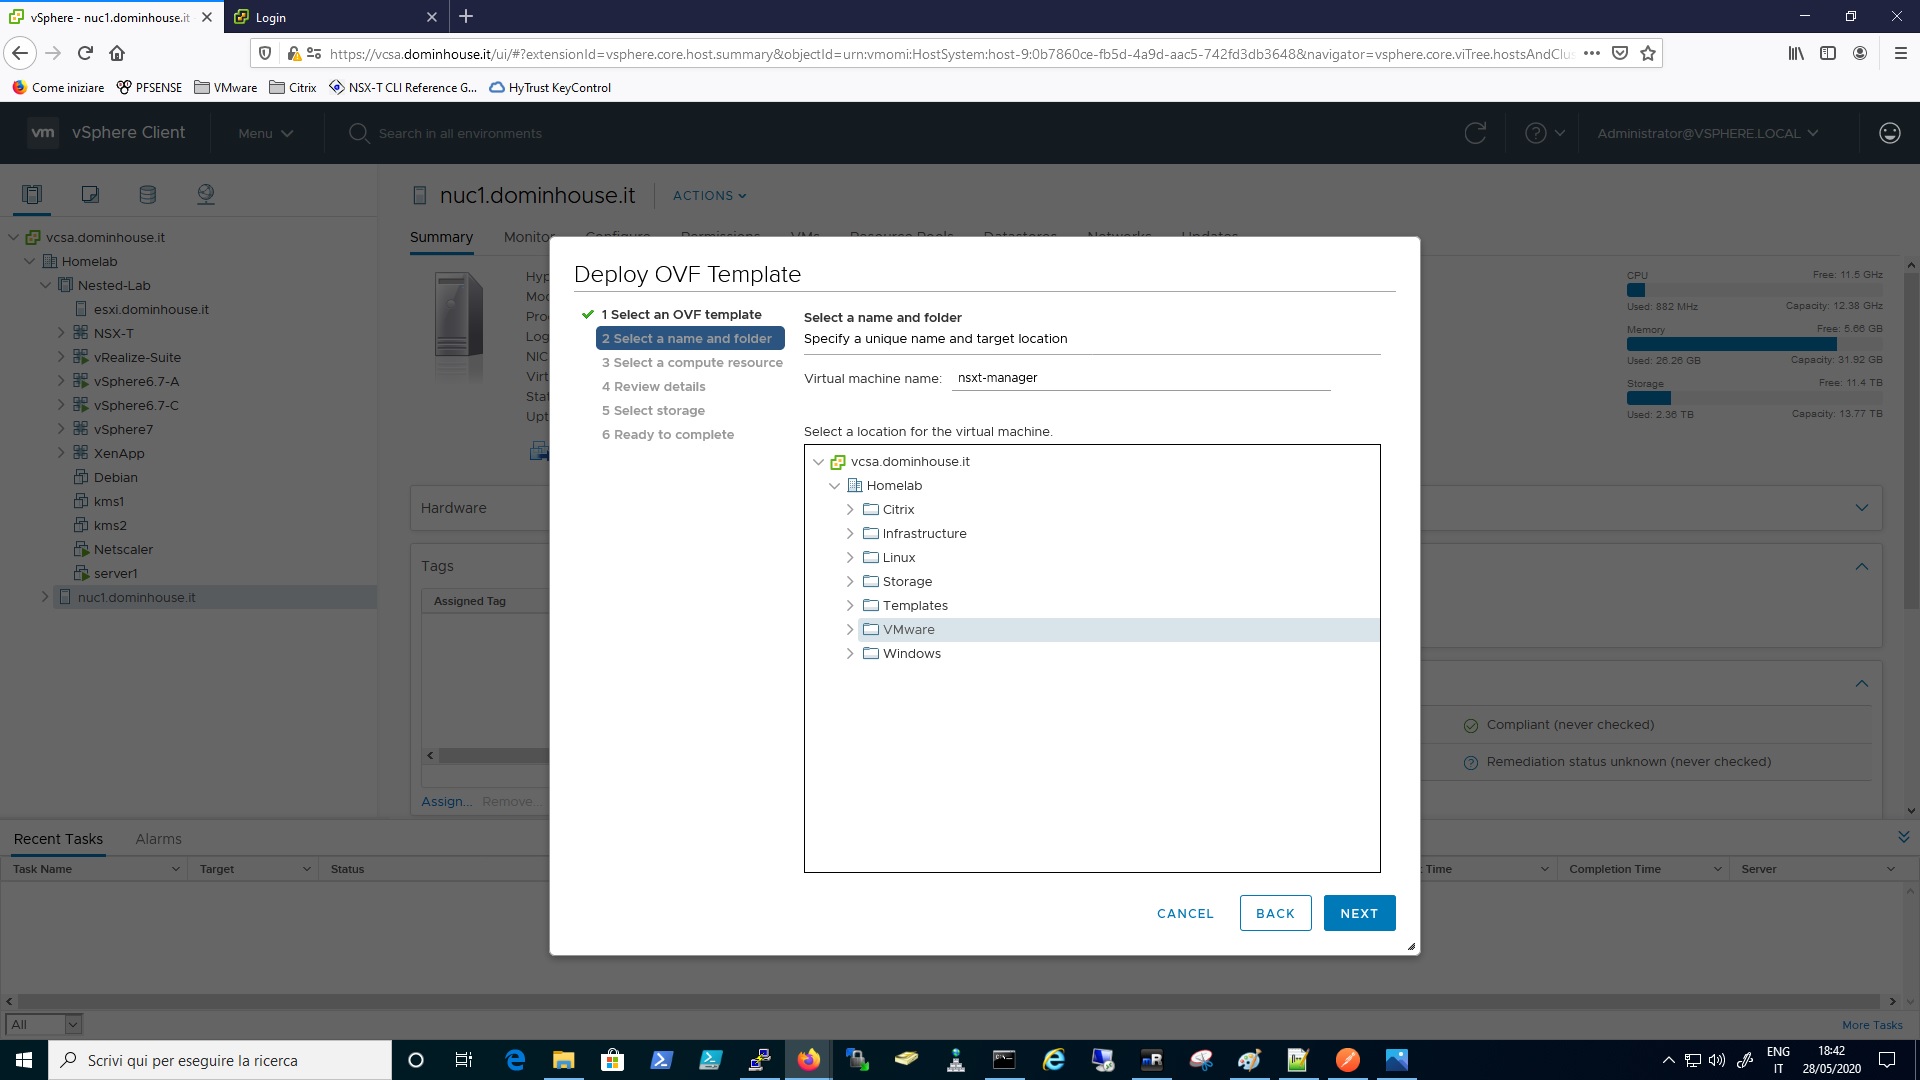
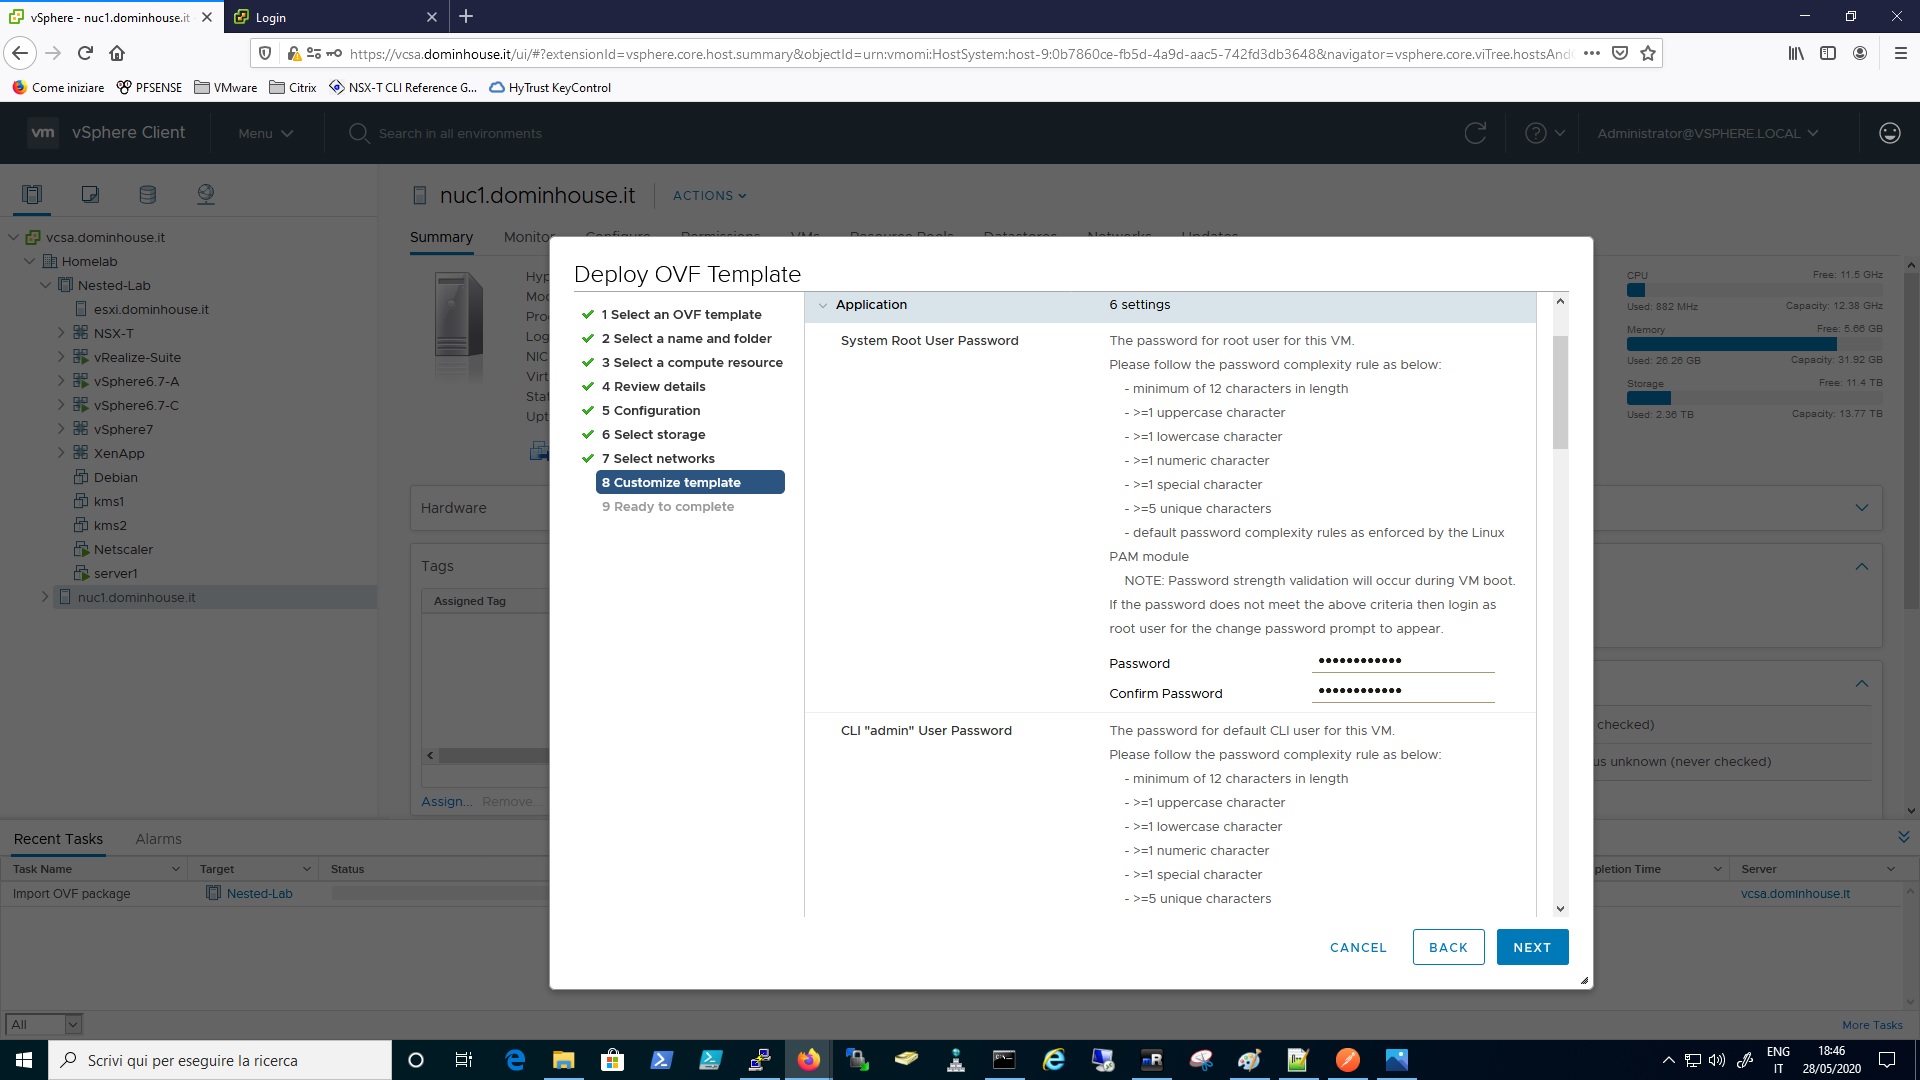
Now the infrastructure is ready so I can start deploy the NSX-T Manager via vSphere Client and configure it with all the needed information it will ask during the deploy process.
So let’s start by launching the deploy via vCenter, see below

Select the OVA file from the local folder

Insert the VM name and if you want you can select a VM folder within the vCenter’s Inventory
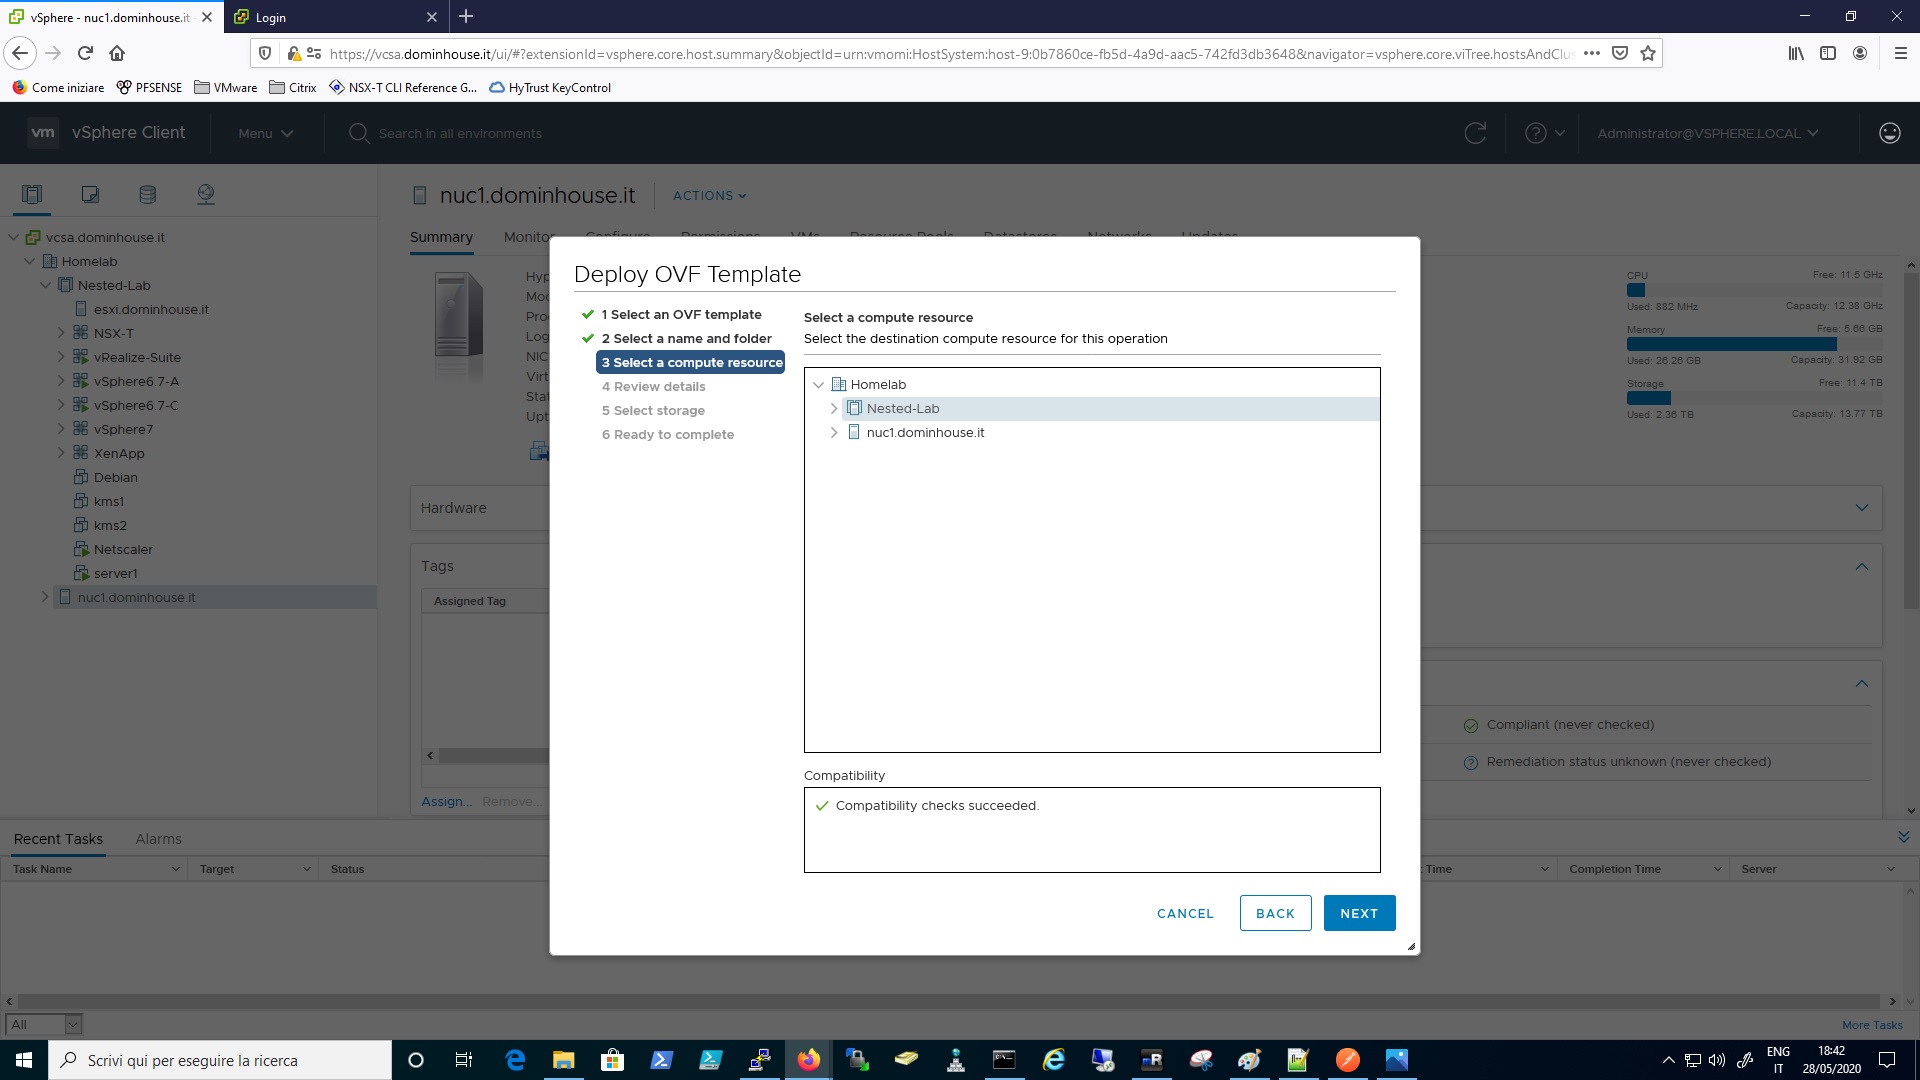
Select the Compute Node or Cluster
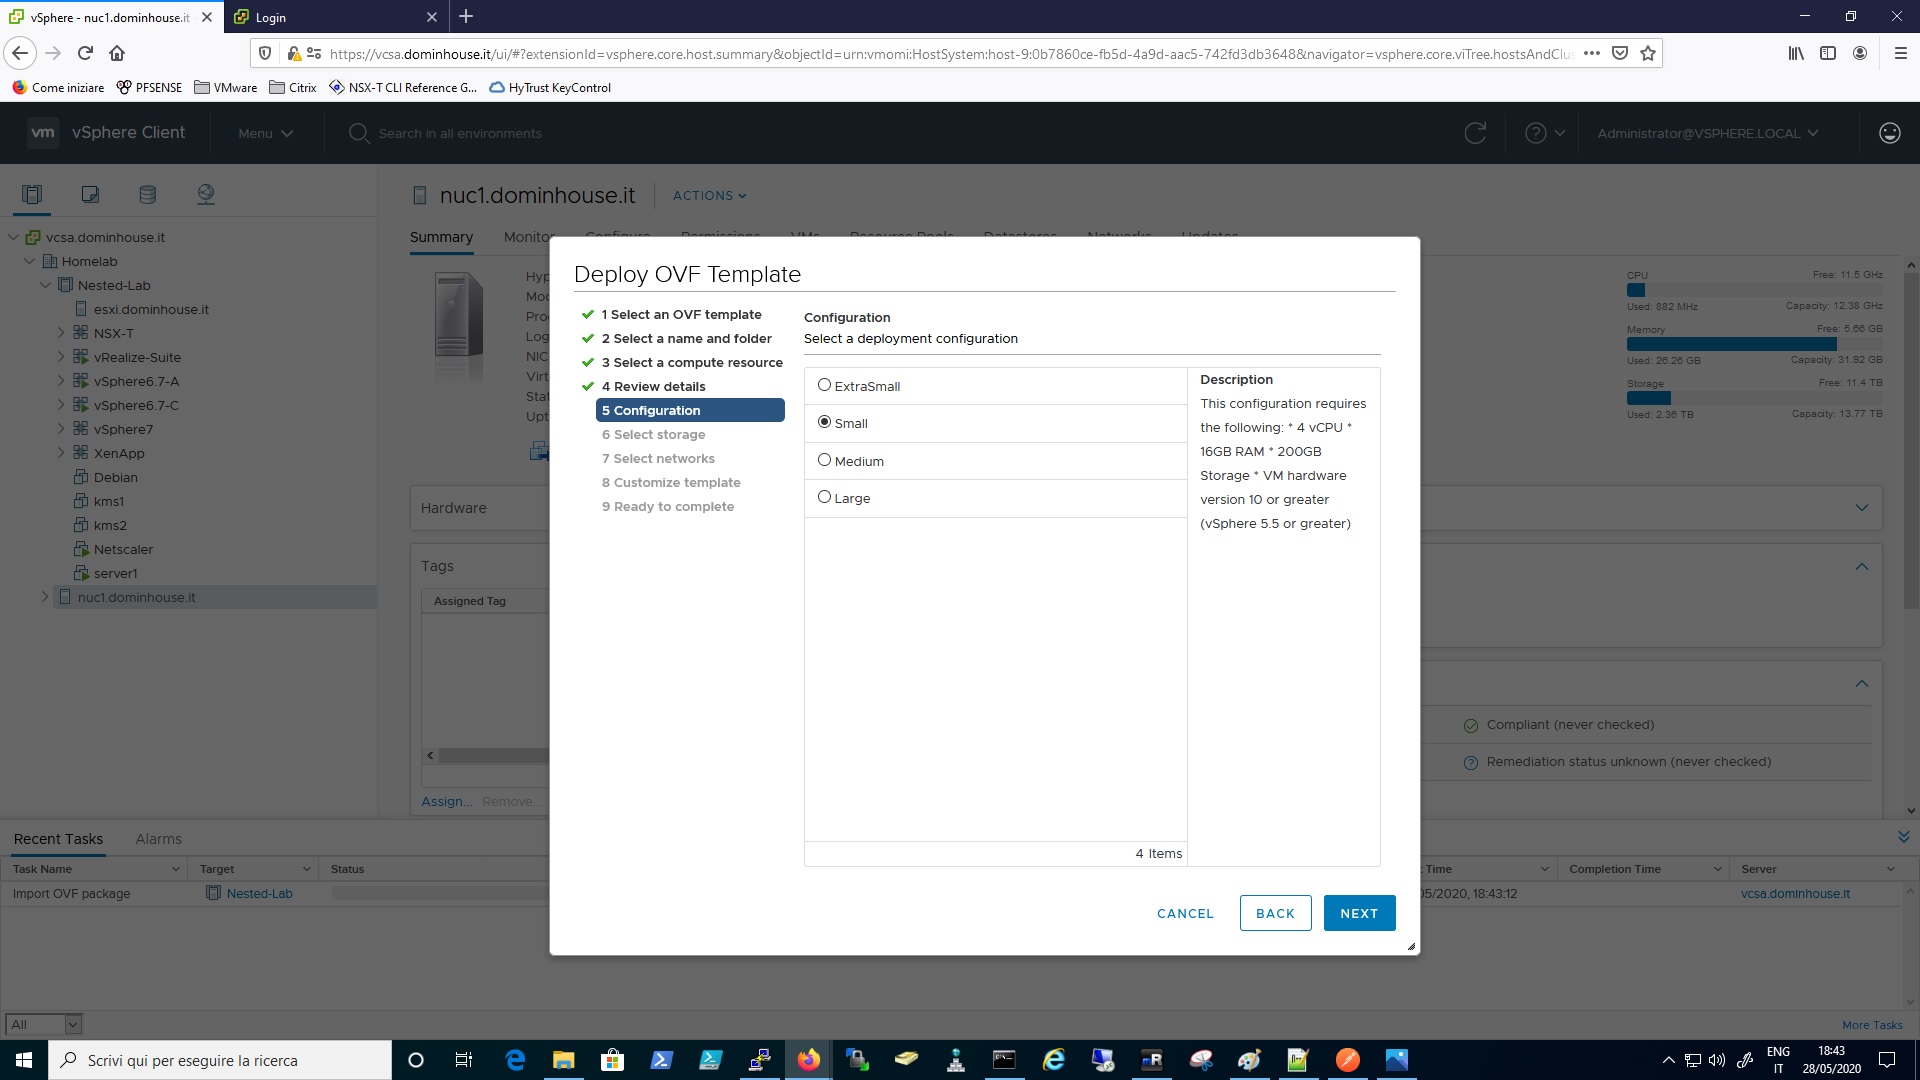
Now select the size of the Manager, in my homelab case I selected “Small”, as you can see it needs some hardware resources:
- 4 vCPU
- 16 Gb Ram
- 200 Gb
Select the Datastore, in my case I’ve also selected “Thin Provisioning” as a Disk Format in order to use less space on the datastore.

Select the network port group
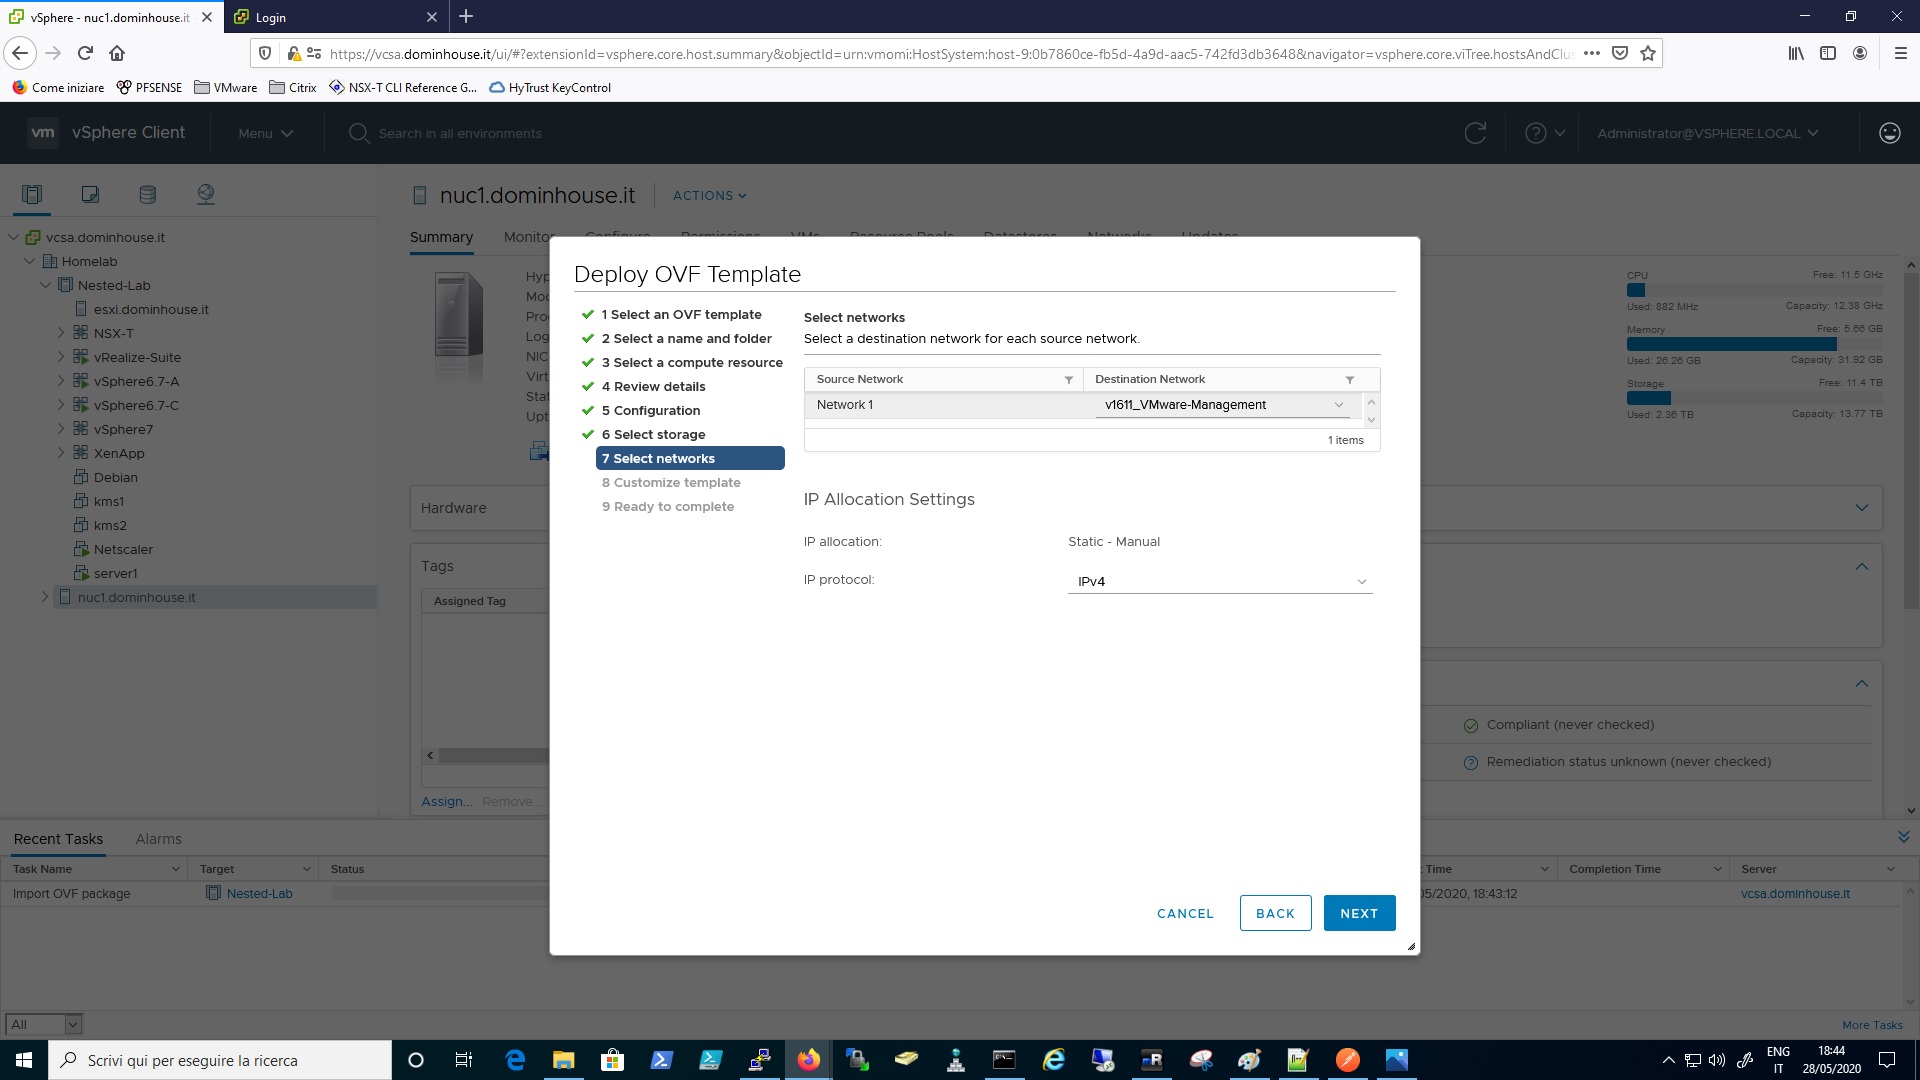
Now you need to fill up all the required information like the passwords for the Admin,Root, Audit accounts and also insert all the other information regarding the network configuration, dns and ntp. At the end a review of all the configuration will be prompted and then you can click on finish and start the deploy.
You can see all these steps on the image gallery below.
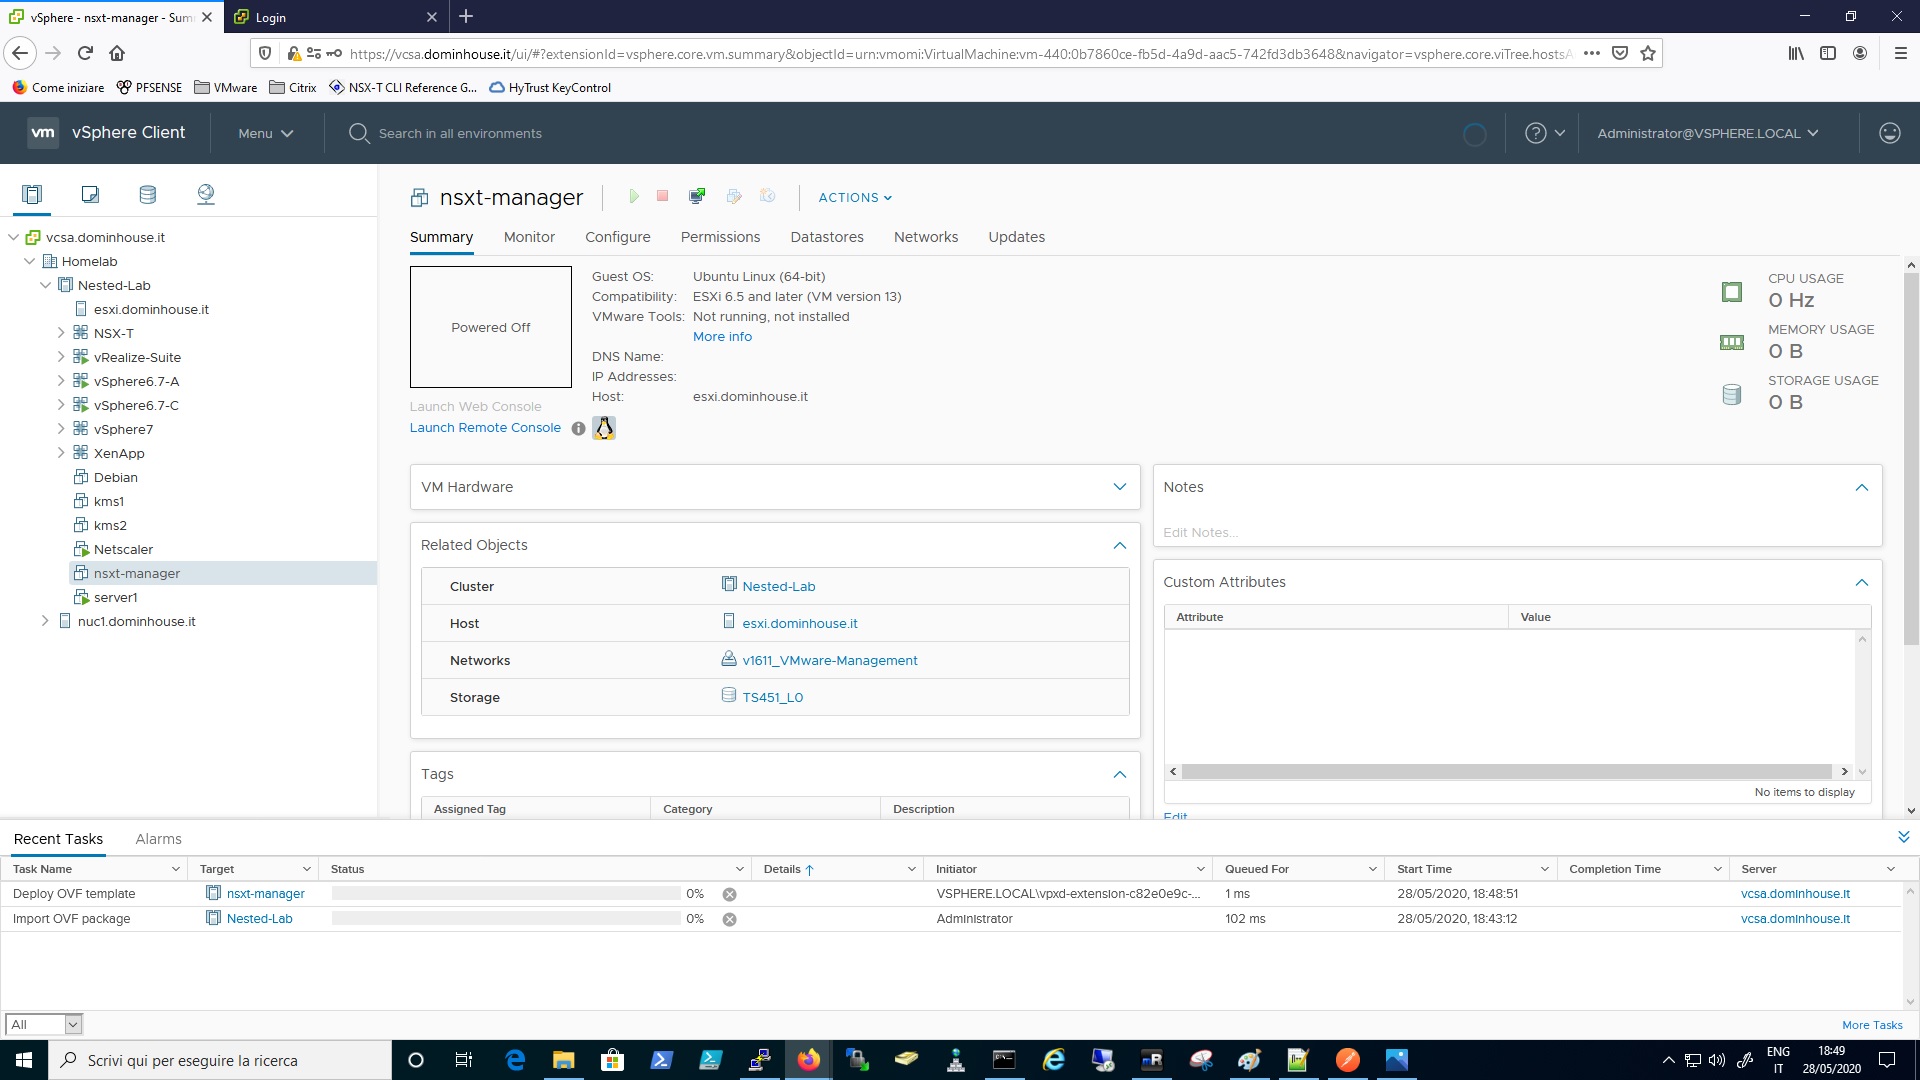
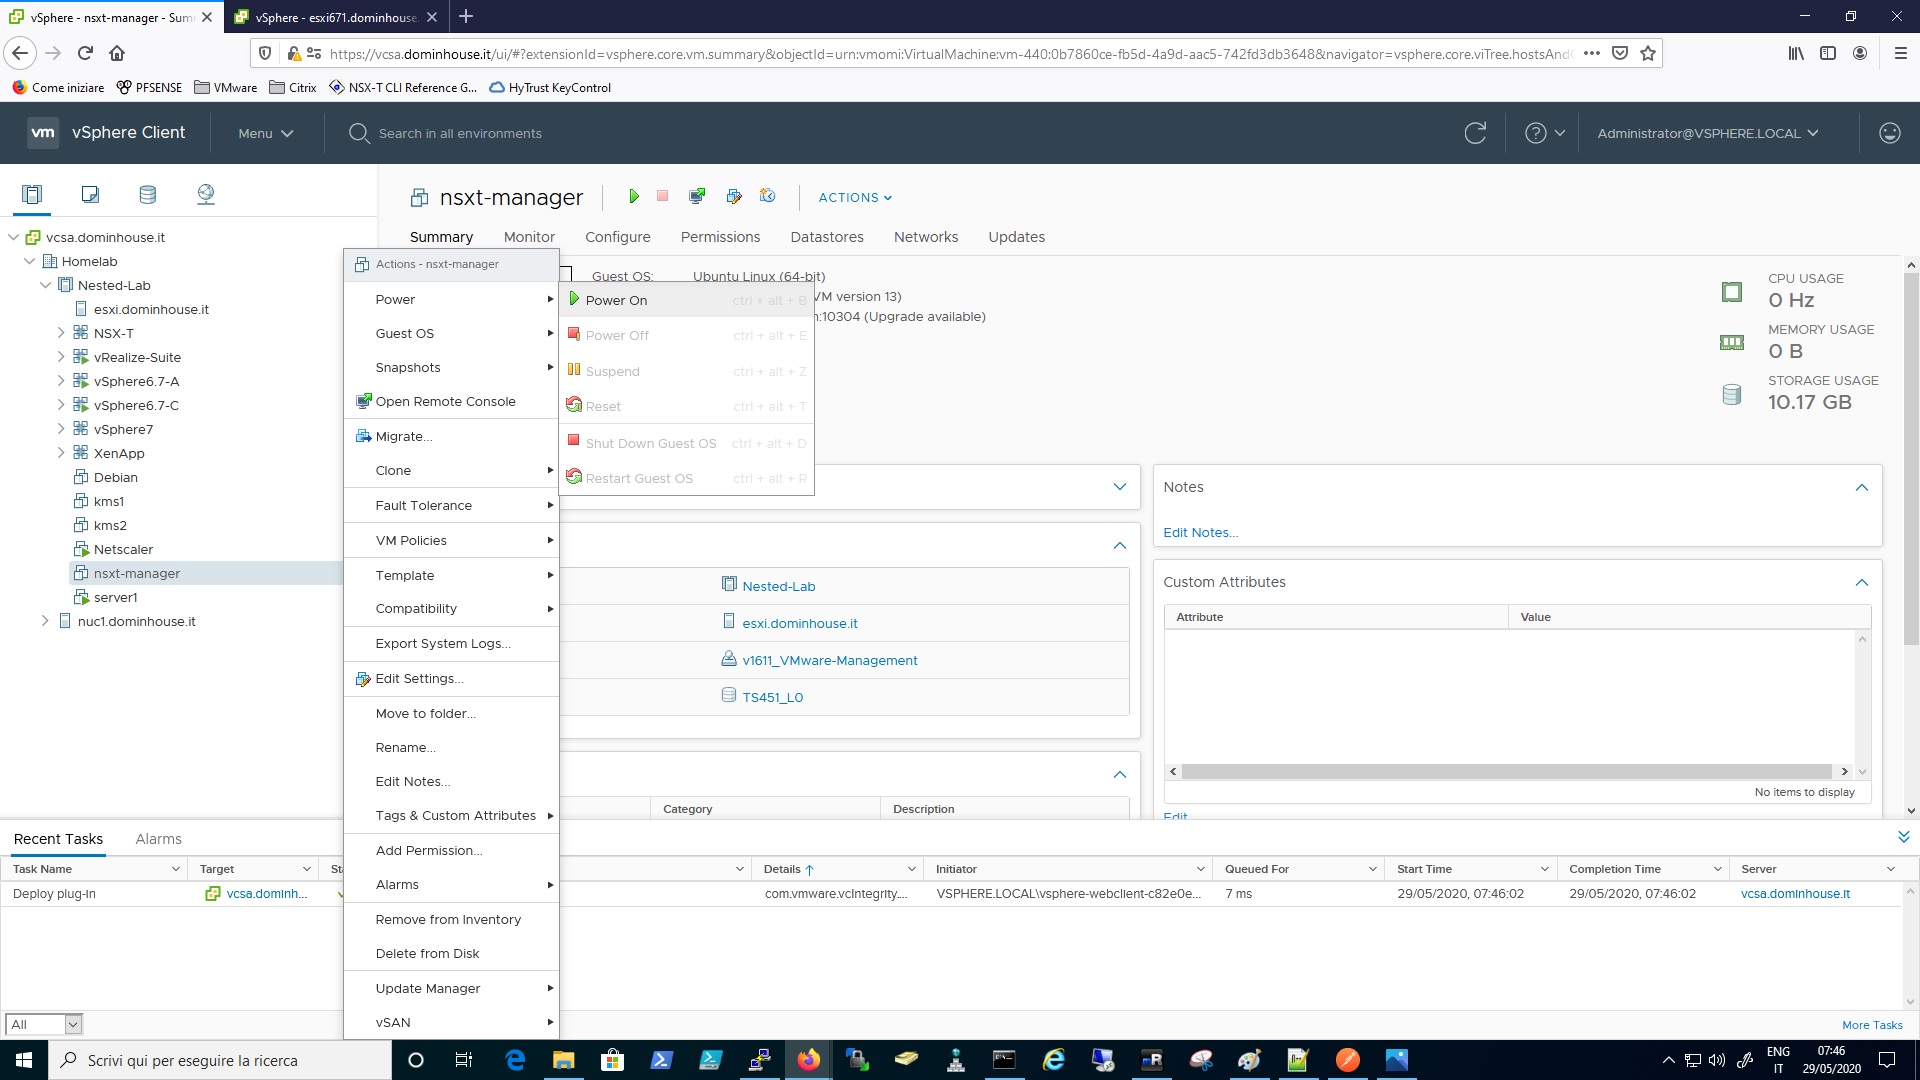
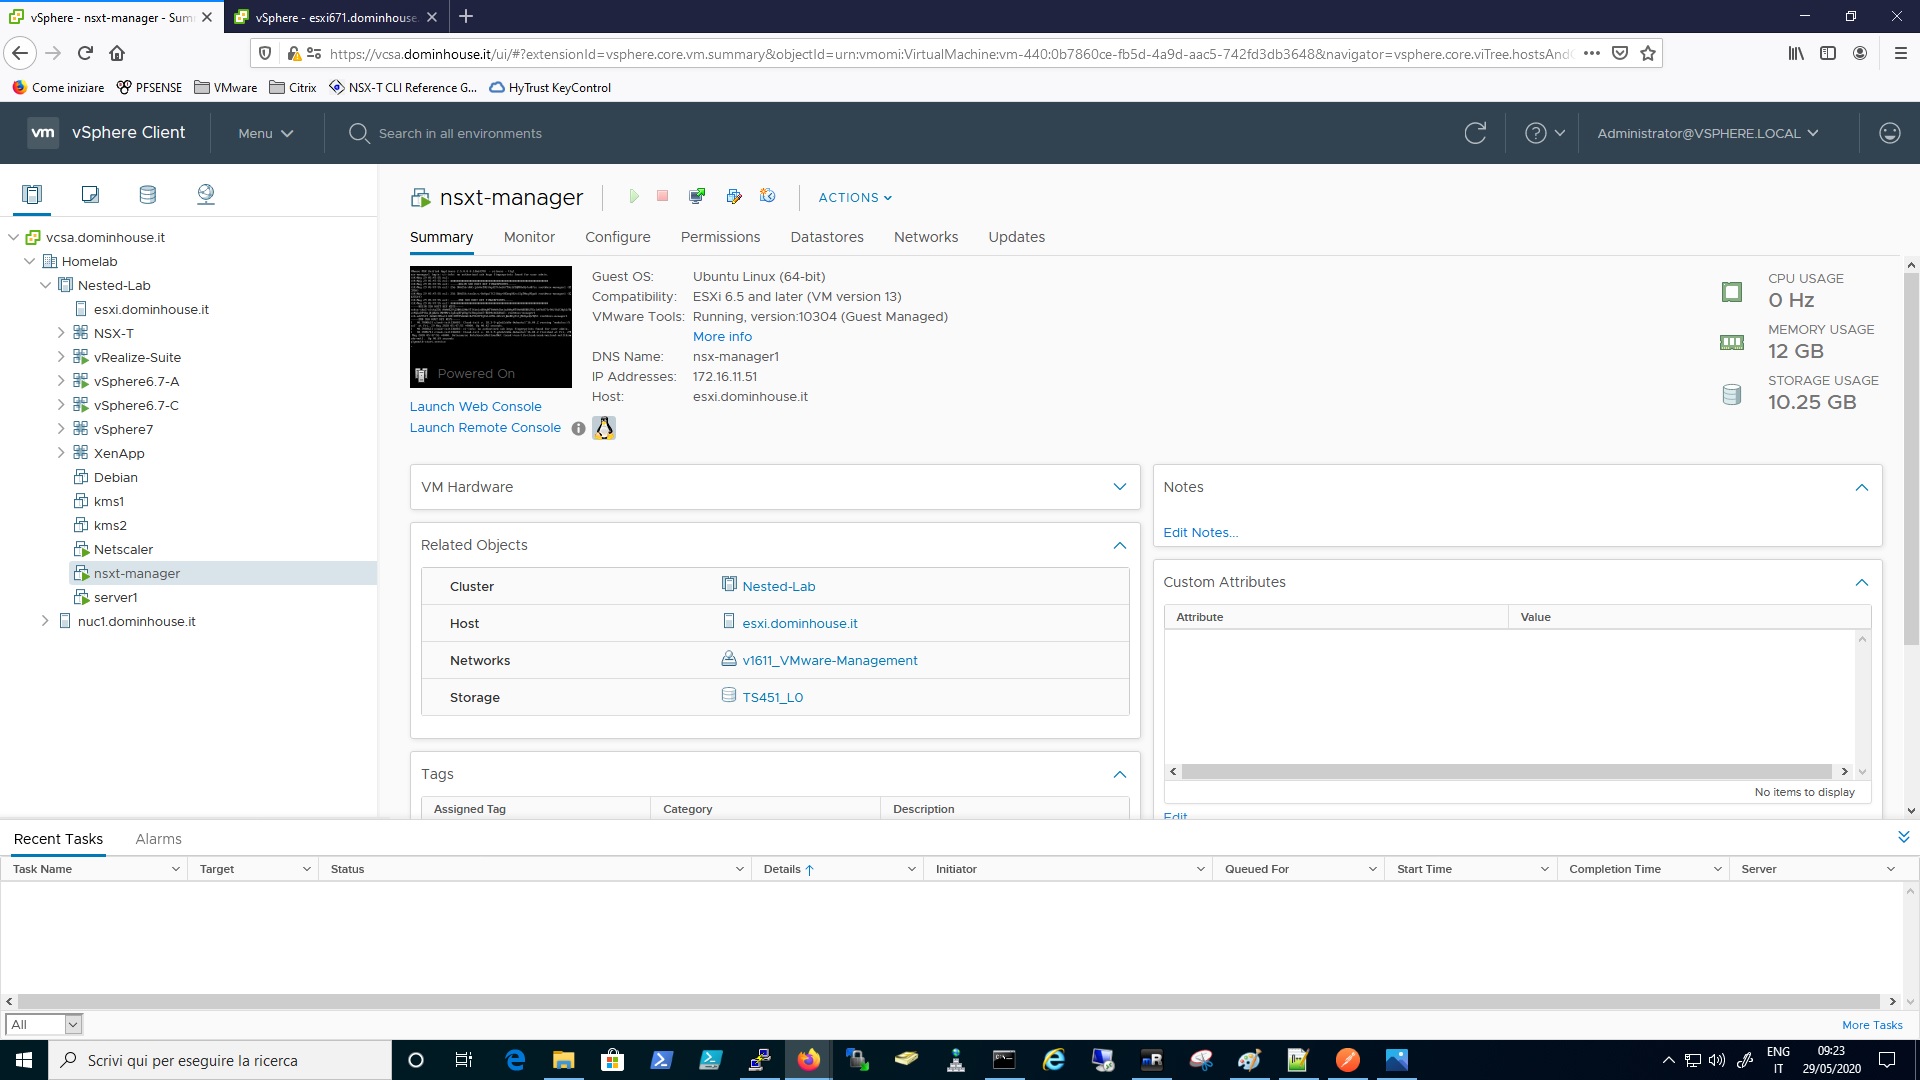
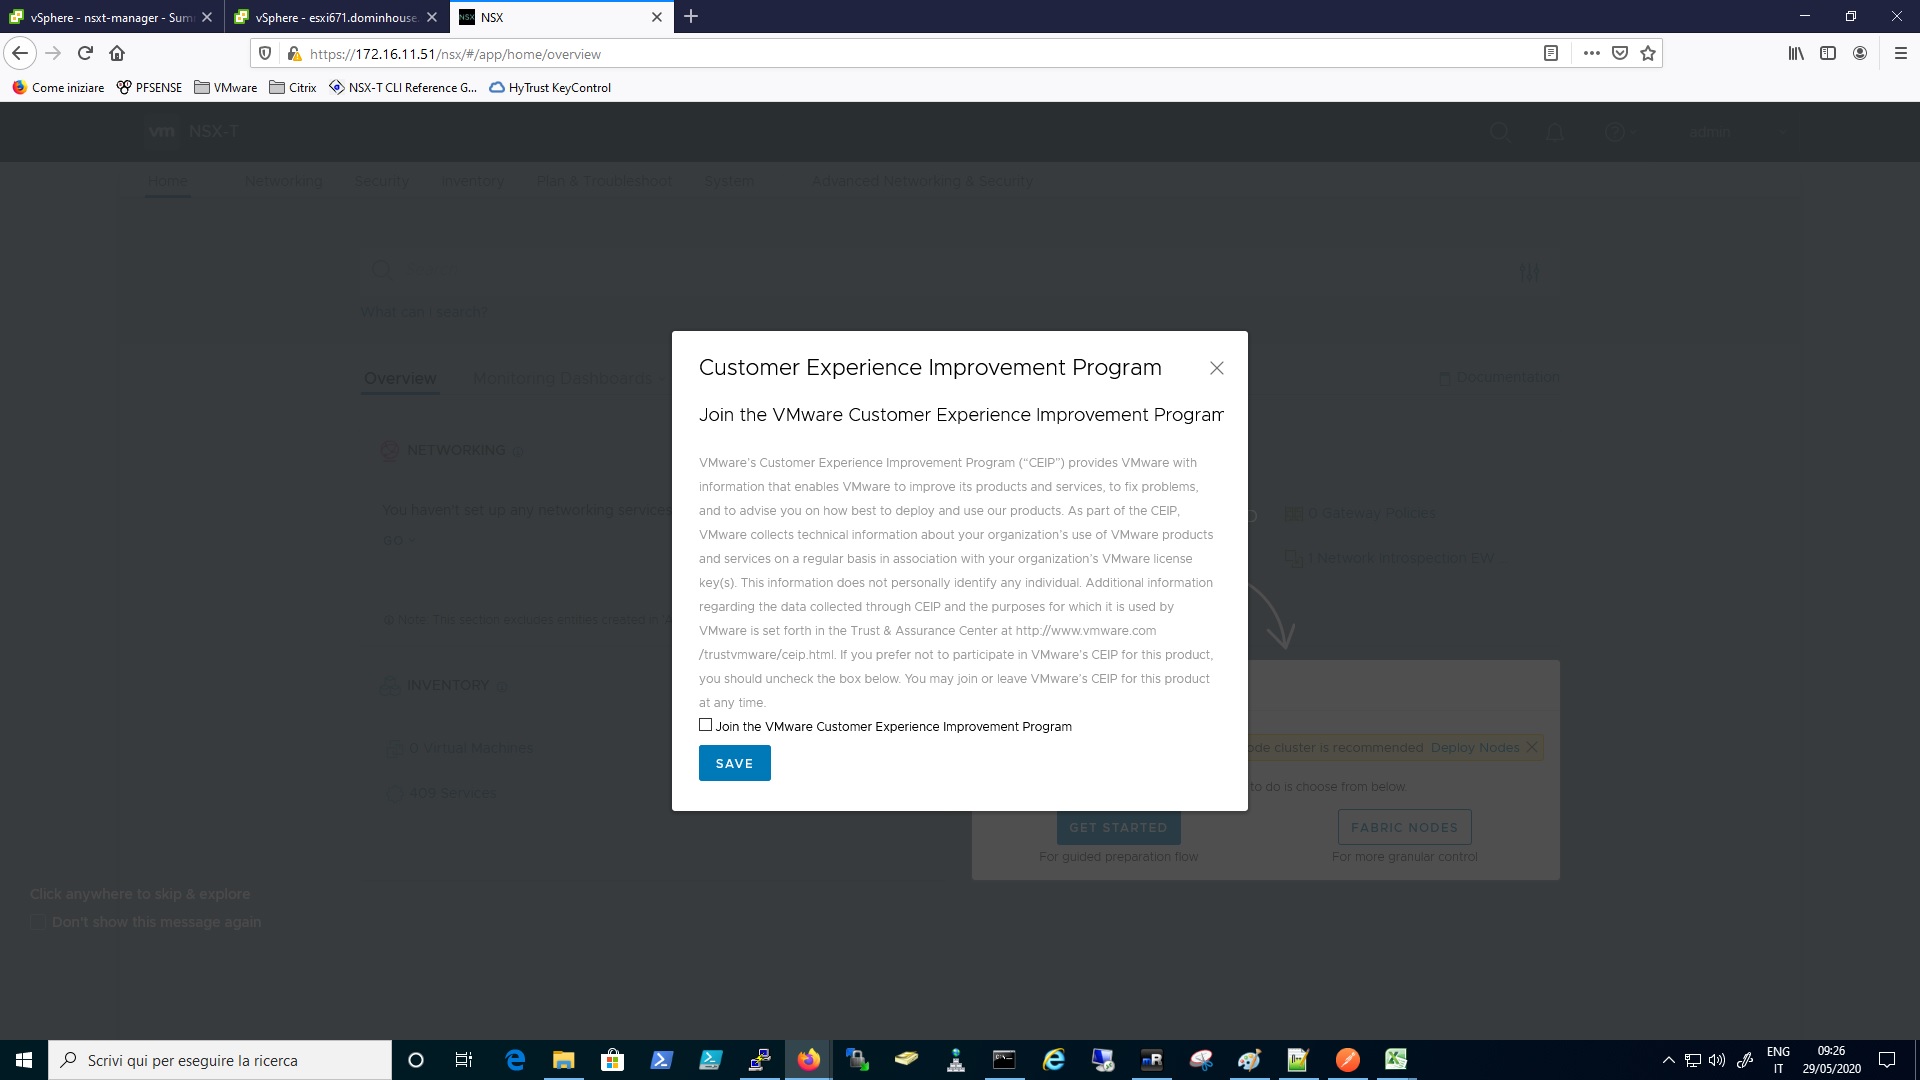
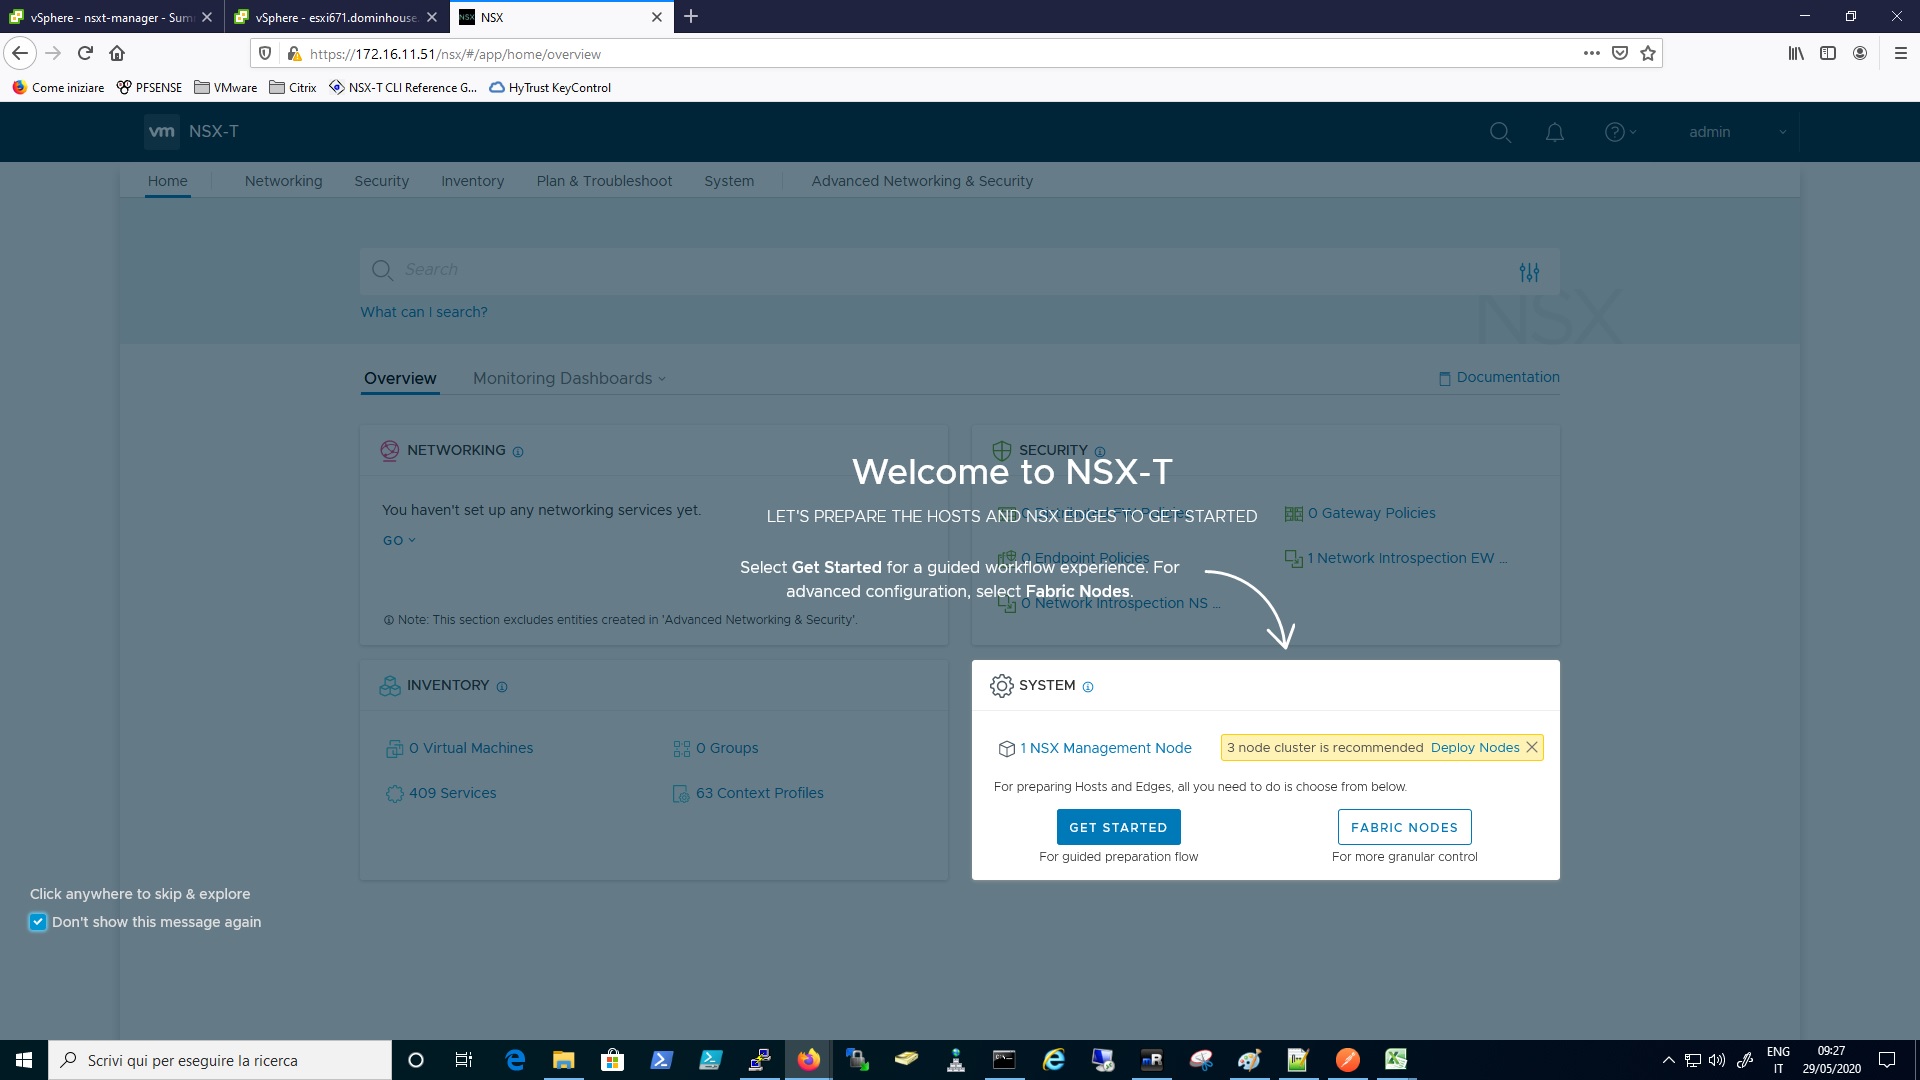
Then you will be able to see on the vCenter the deploy task, when its completed you can click on the manager VM and power it on. Wait for the boot process and than you can reach the nsx-t manager via Browser by putting the its IP on the search bar and then connect to it with the user Admin and the password configured during the deploy.
This bring us to the end of this first article, I’ll continue the configuration of the NSX-T manager on the next article of this series.
Please if you have any doubts or question just feel free to drop a comment.
