During my NSX-T 3.0 lab build from scratch I wanted to understand how to use a custom certificate for the NSX-T Manager Nodes and also for the VIP of the Managers.
So I searching around in order to understand which step is needed to configure it as I wanted.
I found a great blog that explains everything I needed to understand the process and also some common errors you can face during this procedure.
If you are interested in the detailed procedures you can go directly to the raccoon blog here
GUI install: https://vraccoon.com/2020/05/change-nsx-t-3-ssl-certificates/
Manual: https://vraccoon.com/2020/05/replace-nsx-t-3-ssl-tls-certificates-manual-method/
Cluster: https://vraccoon.com/2020/05/replace-nsx-t-3-ssl-tls-certificates-cluster-certificate/
If you get some error I suggest you to look also the interesting article also from the vraccoon blog: https://vraccoon.com/2020/05/replace-nsx-t-3-ssl-tls-certificates-common-errors/
The article above will help you to understand if you have some configuration you need to change in order to apply your custom certificates without any problems
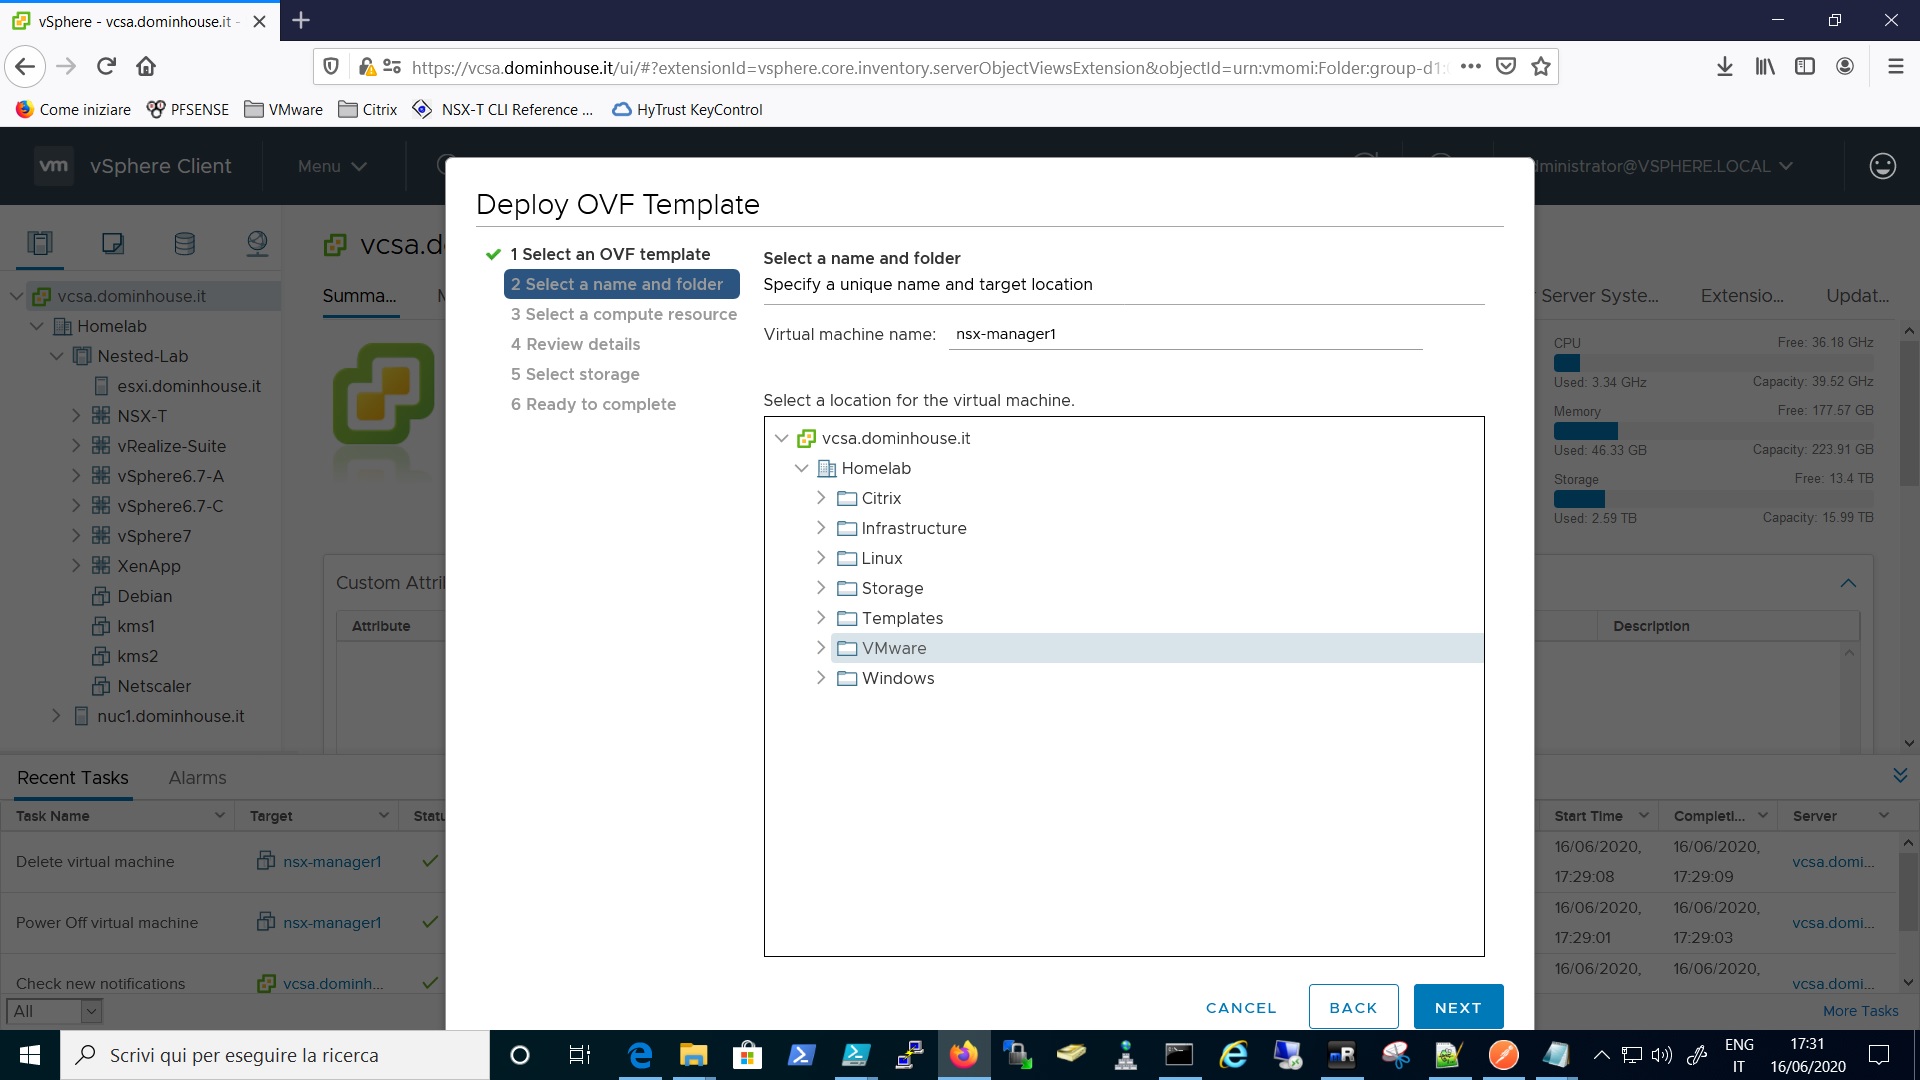
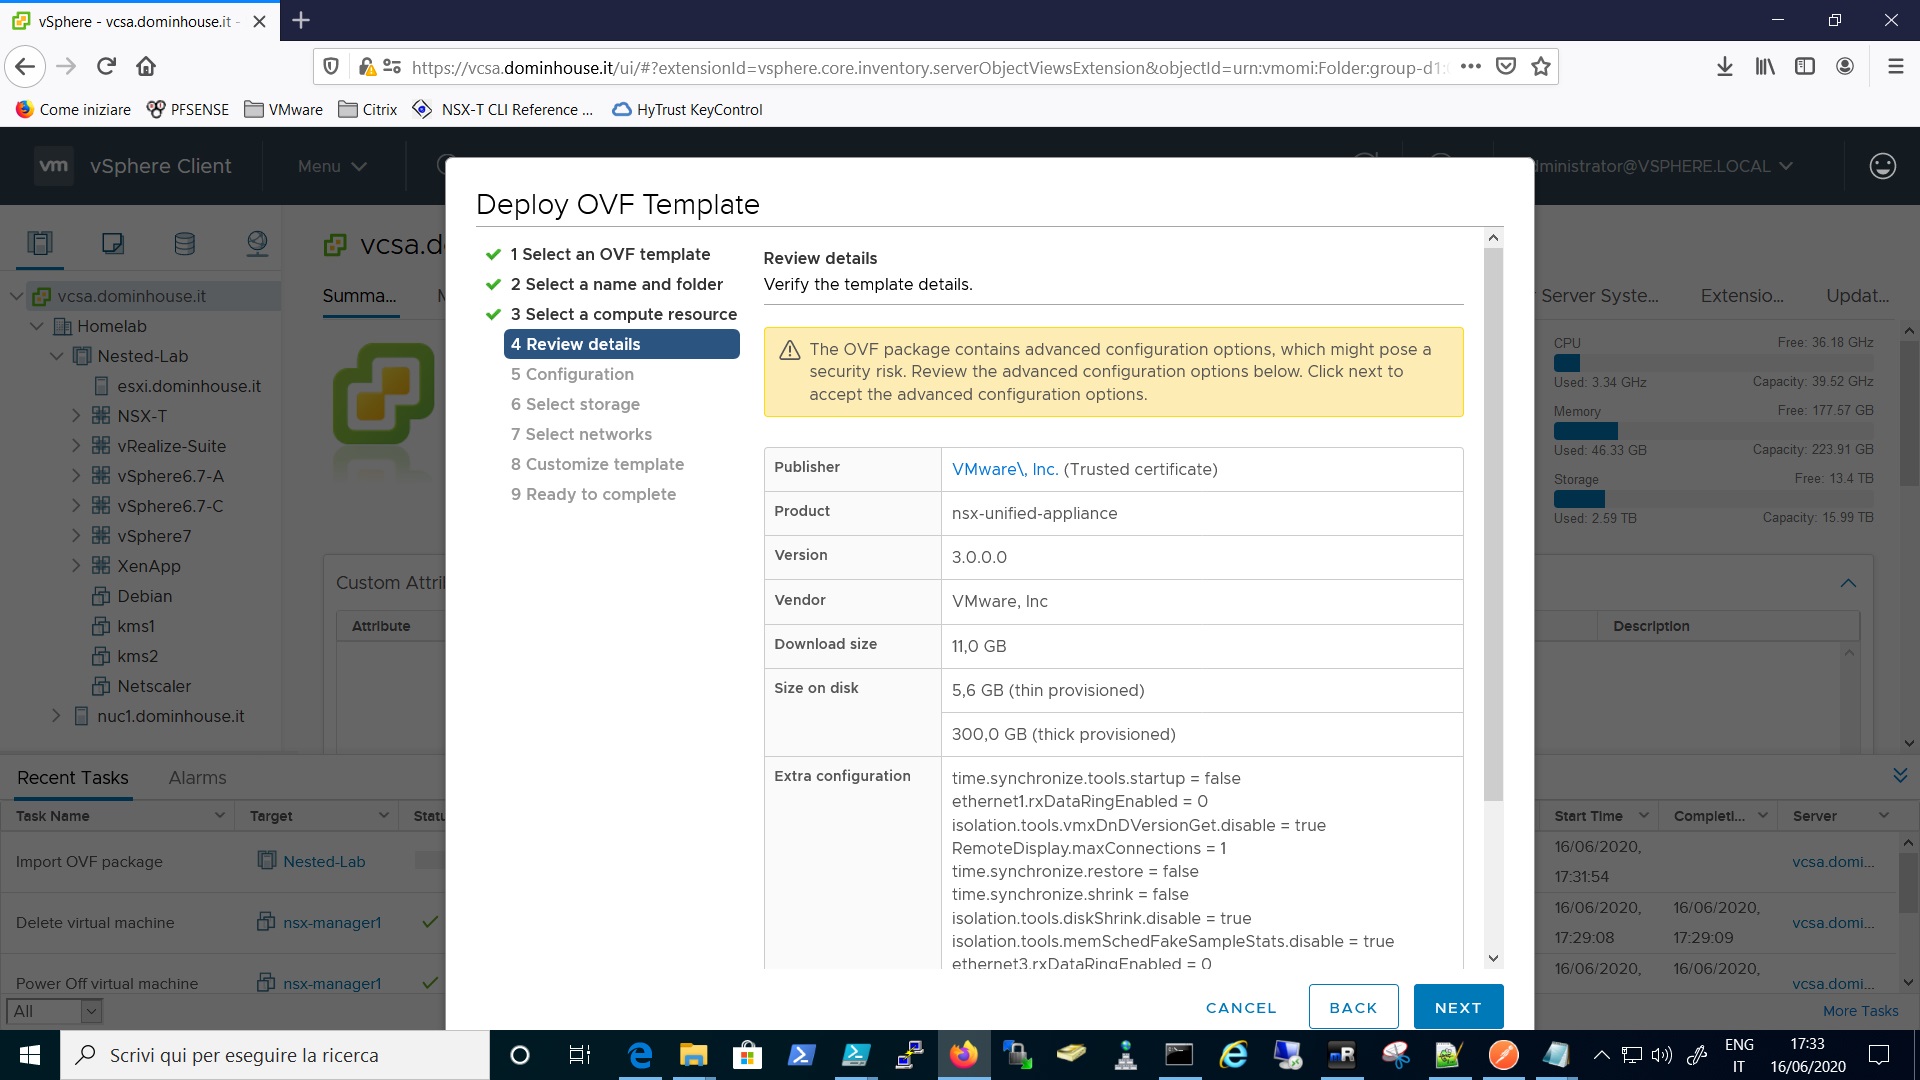
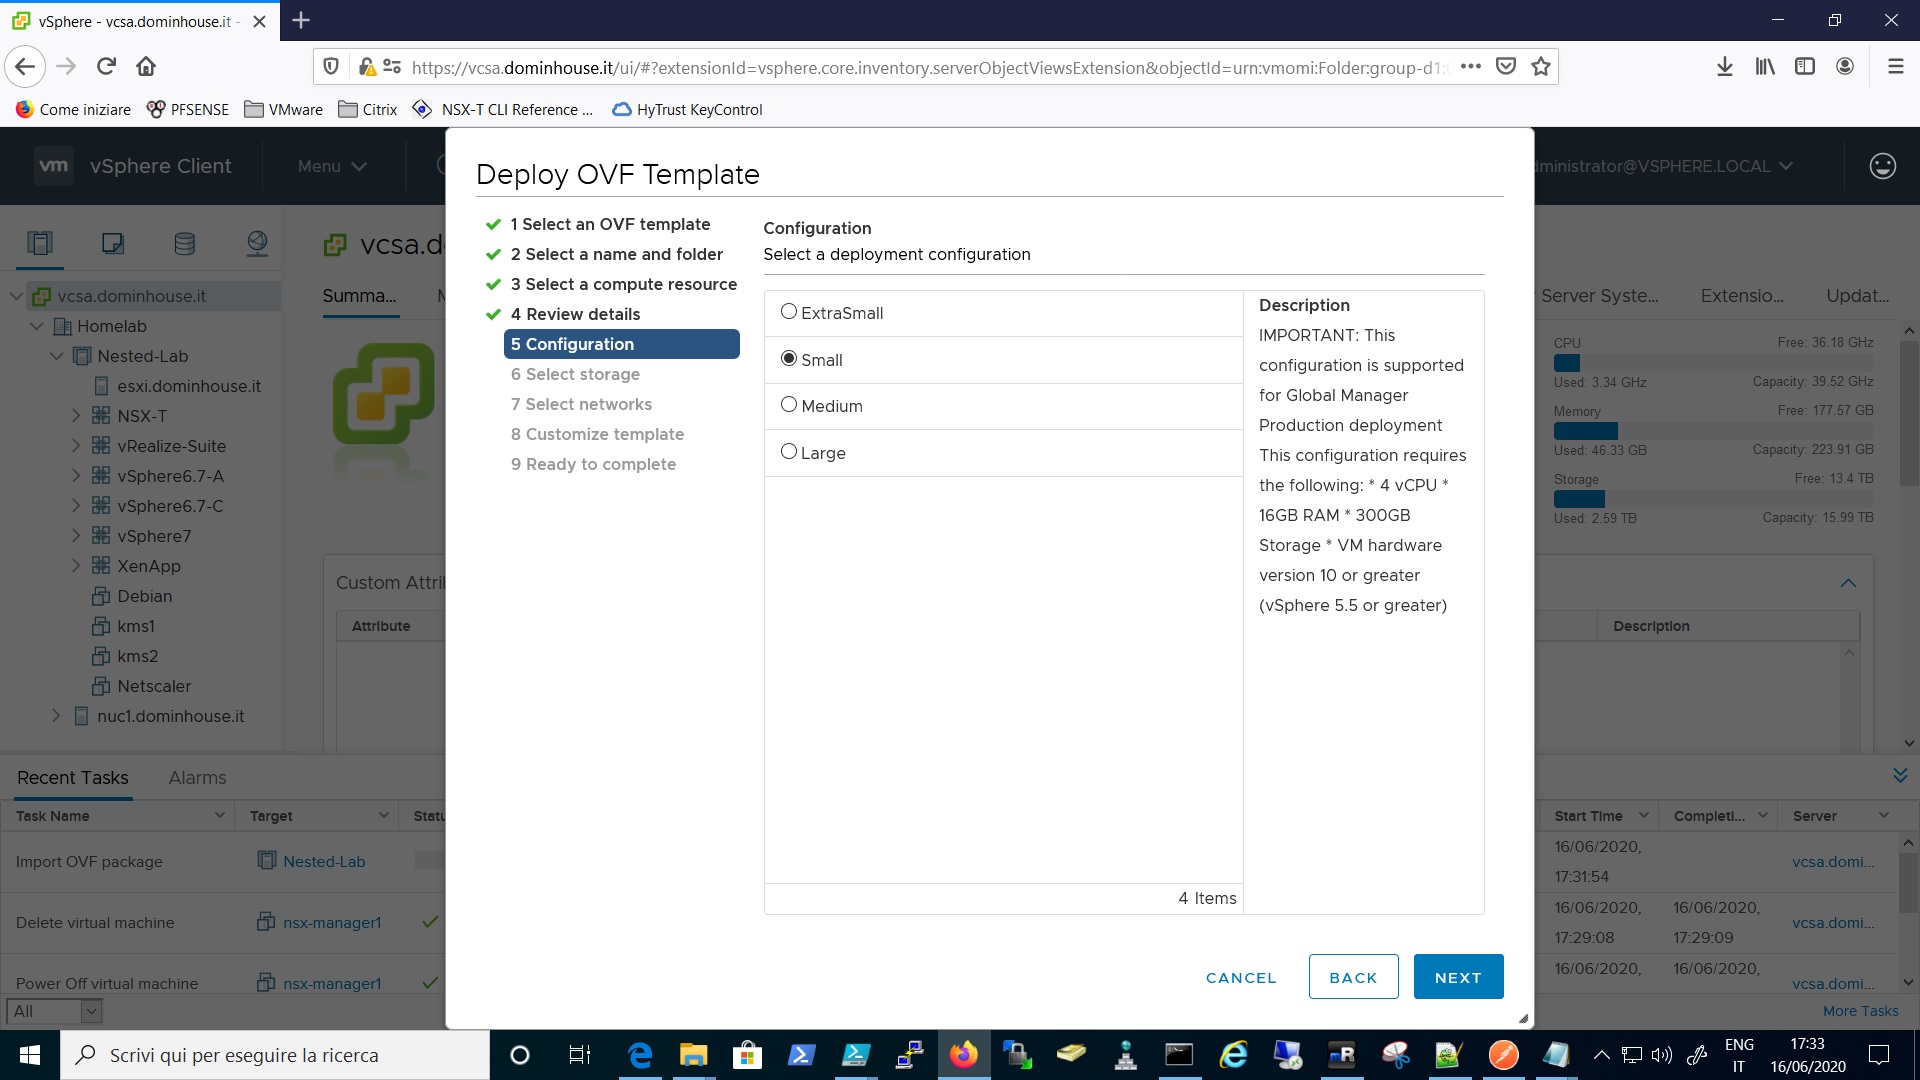
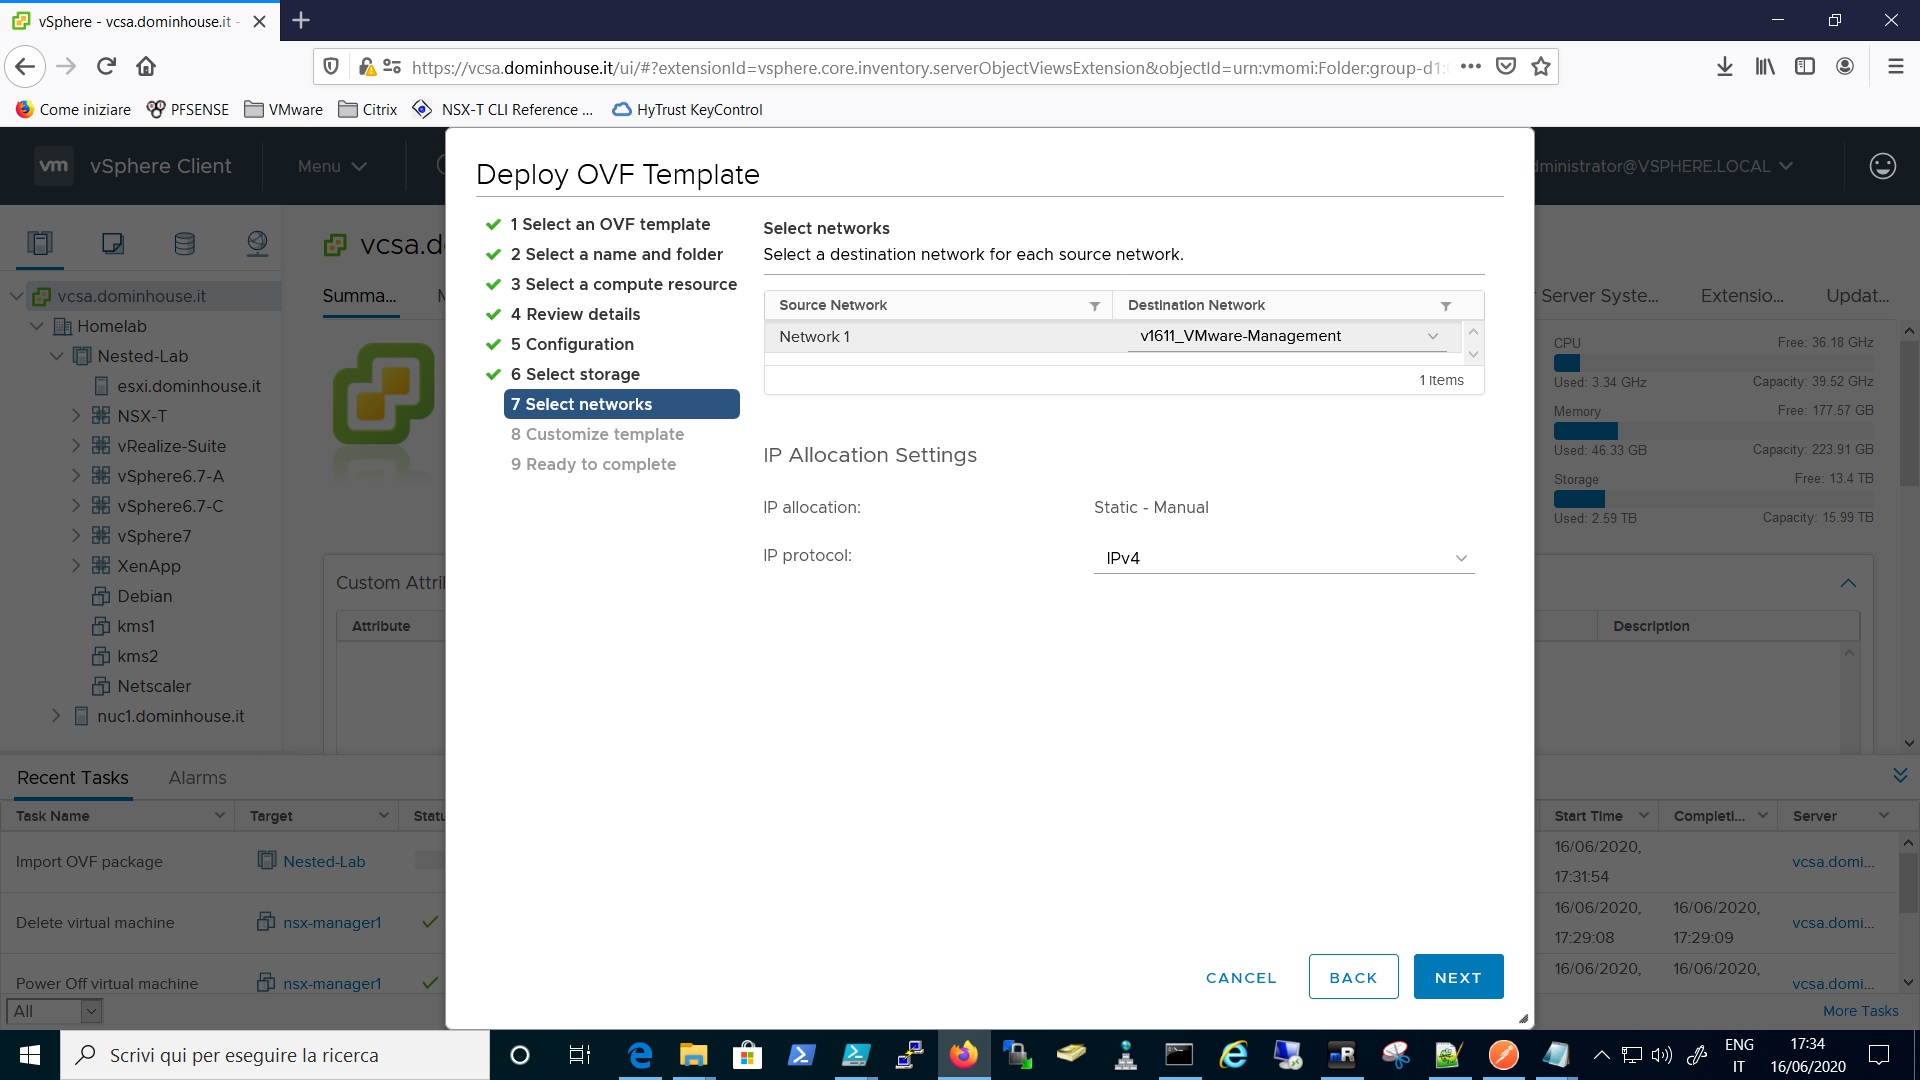
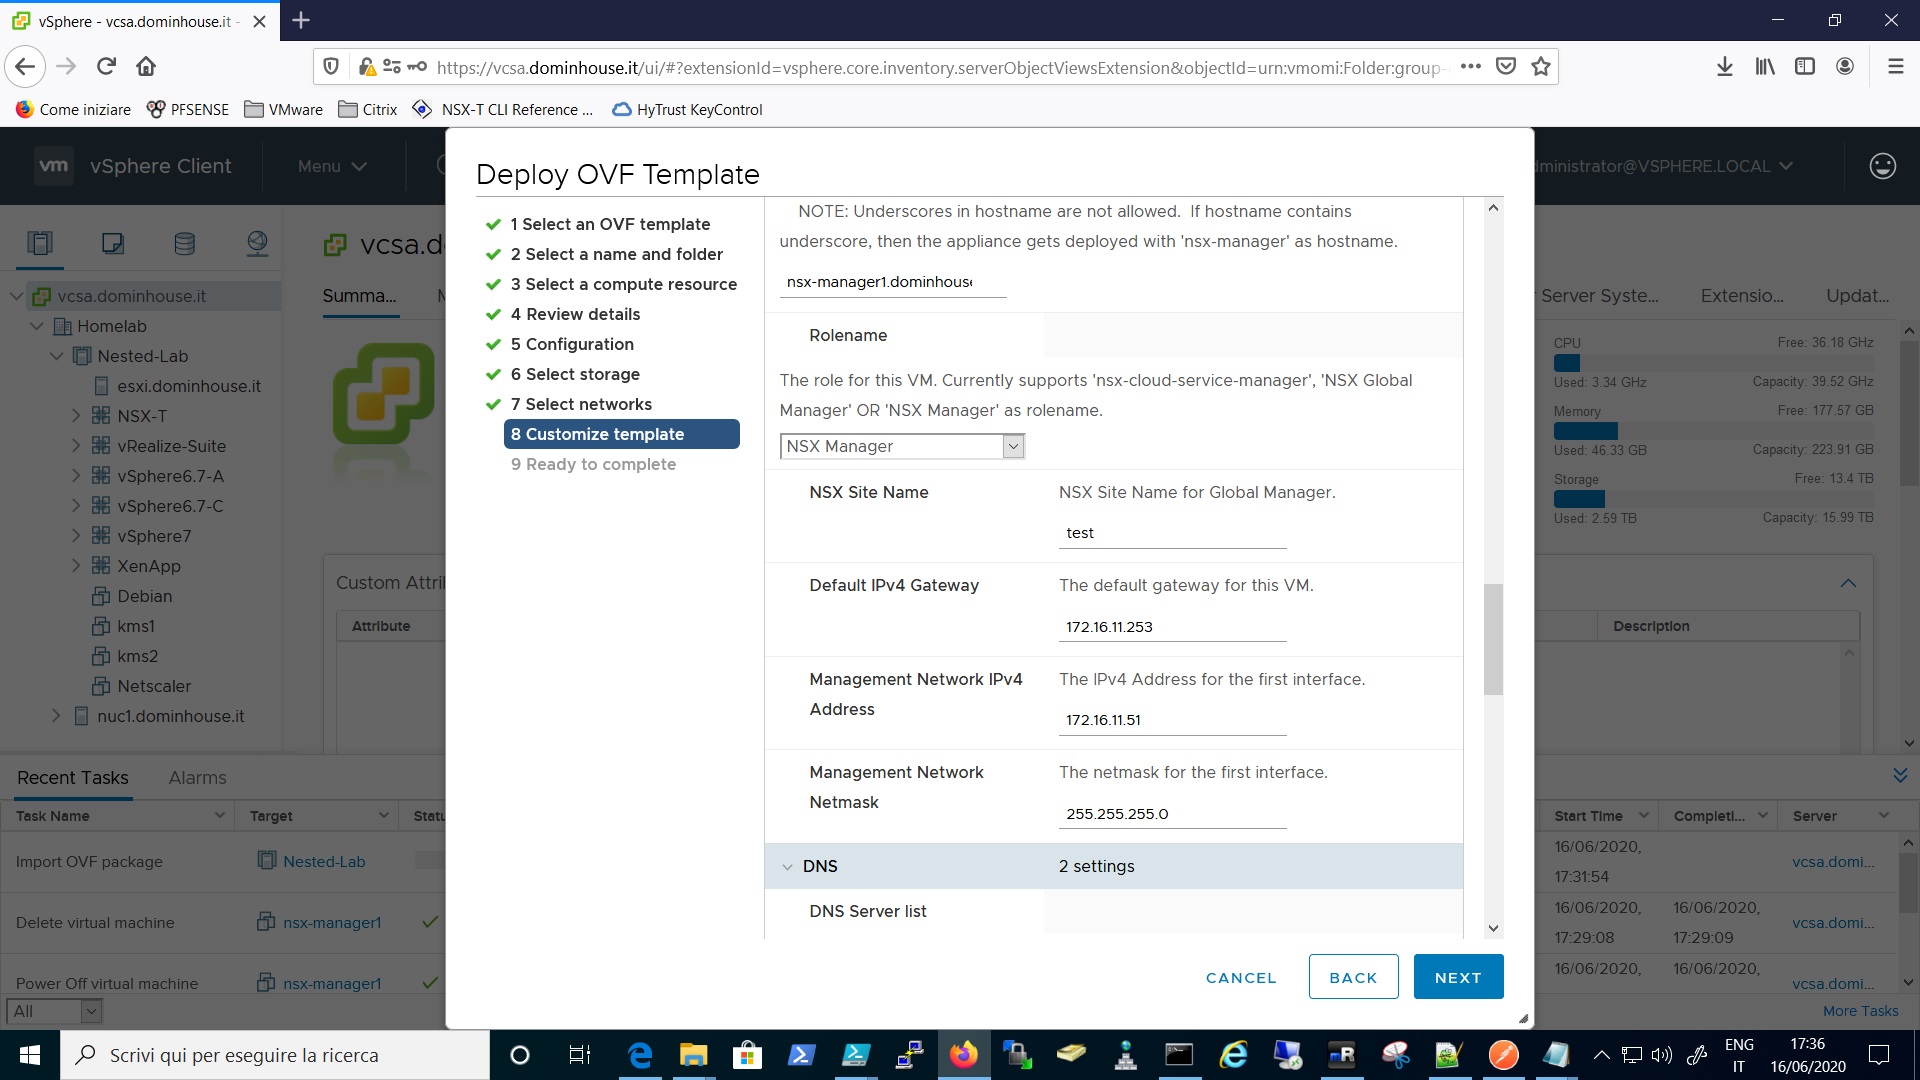
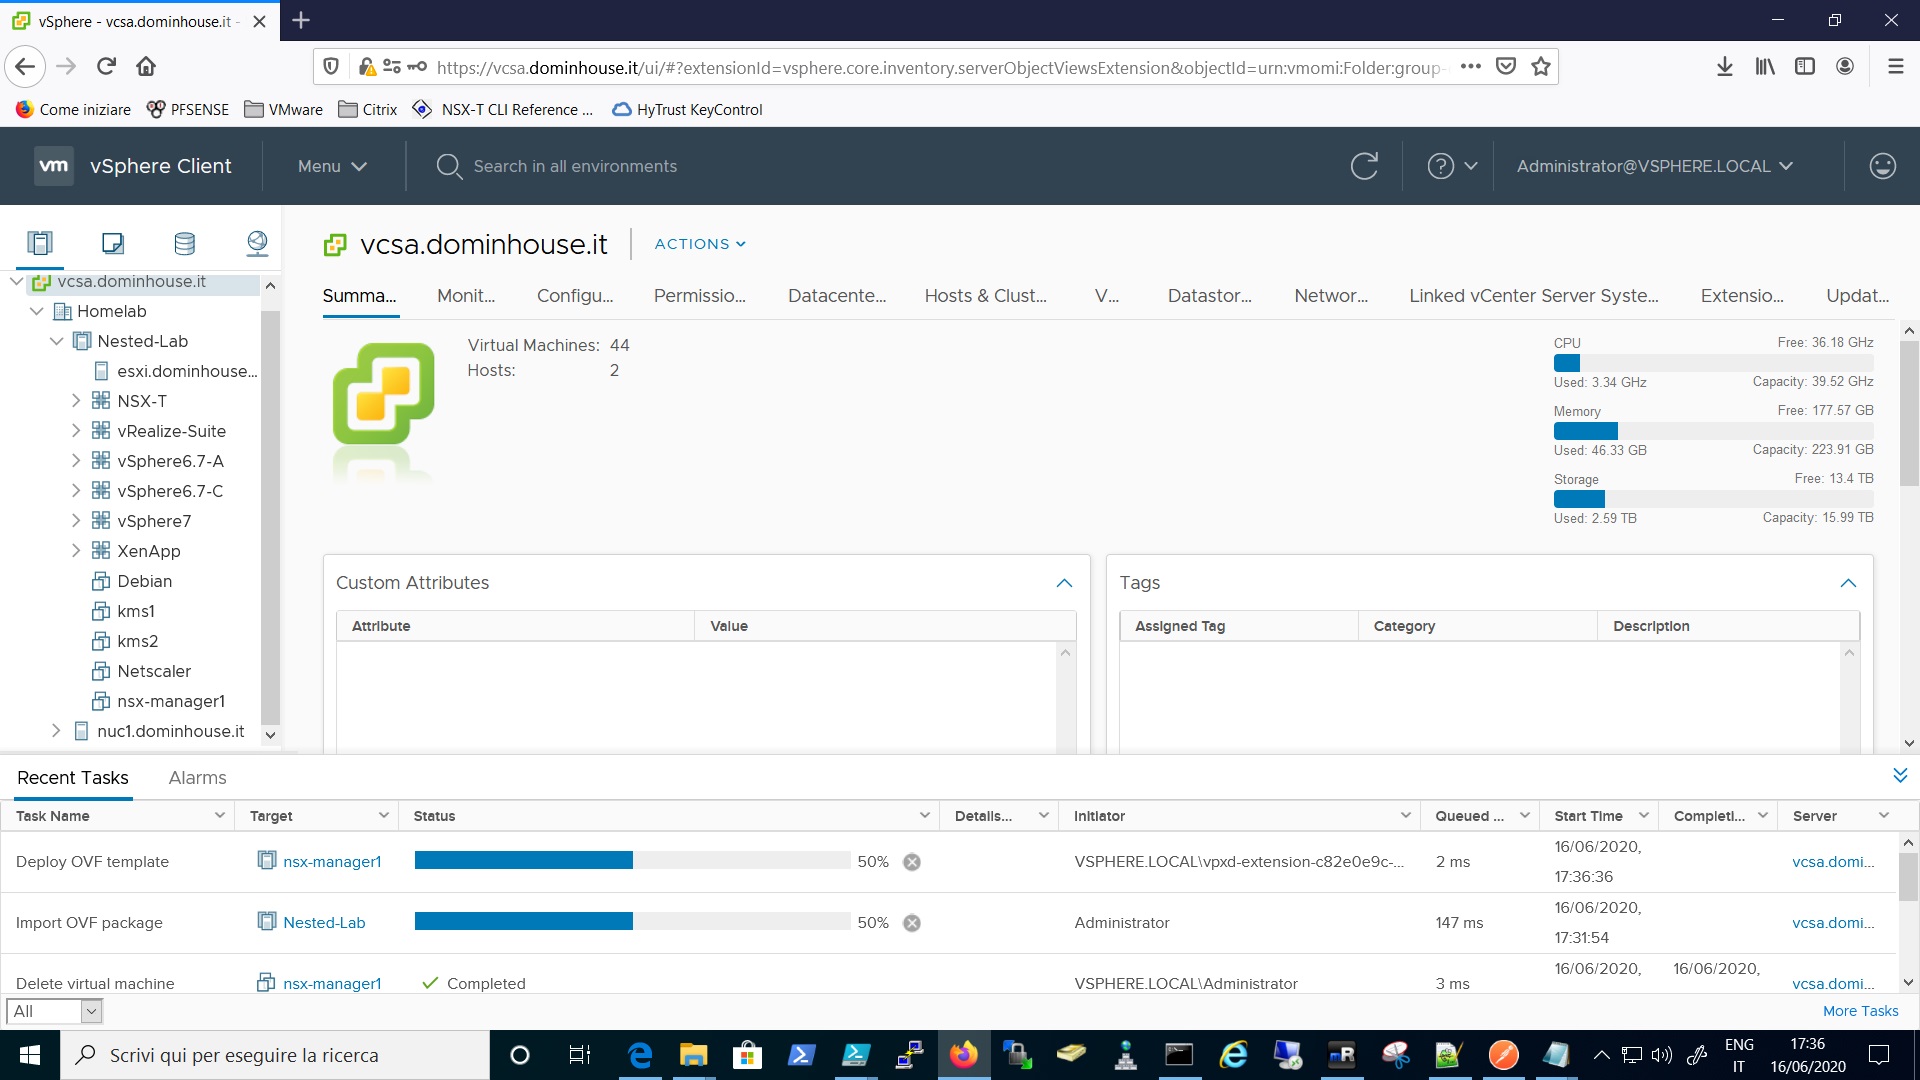
In my case, my home lab is just a single node configuration, enough for a home lab purpose but for sure not recommended for Production Environment. I basically did the standard installation with via OVF deploy in my vCenter.
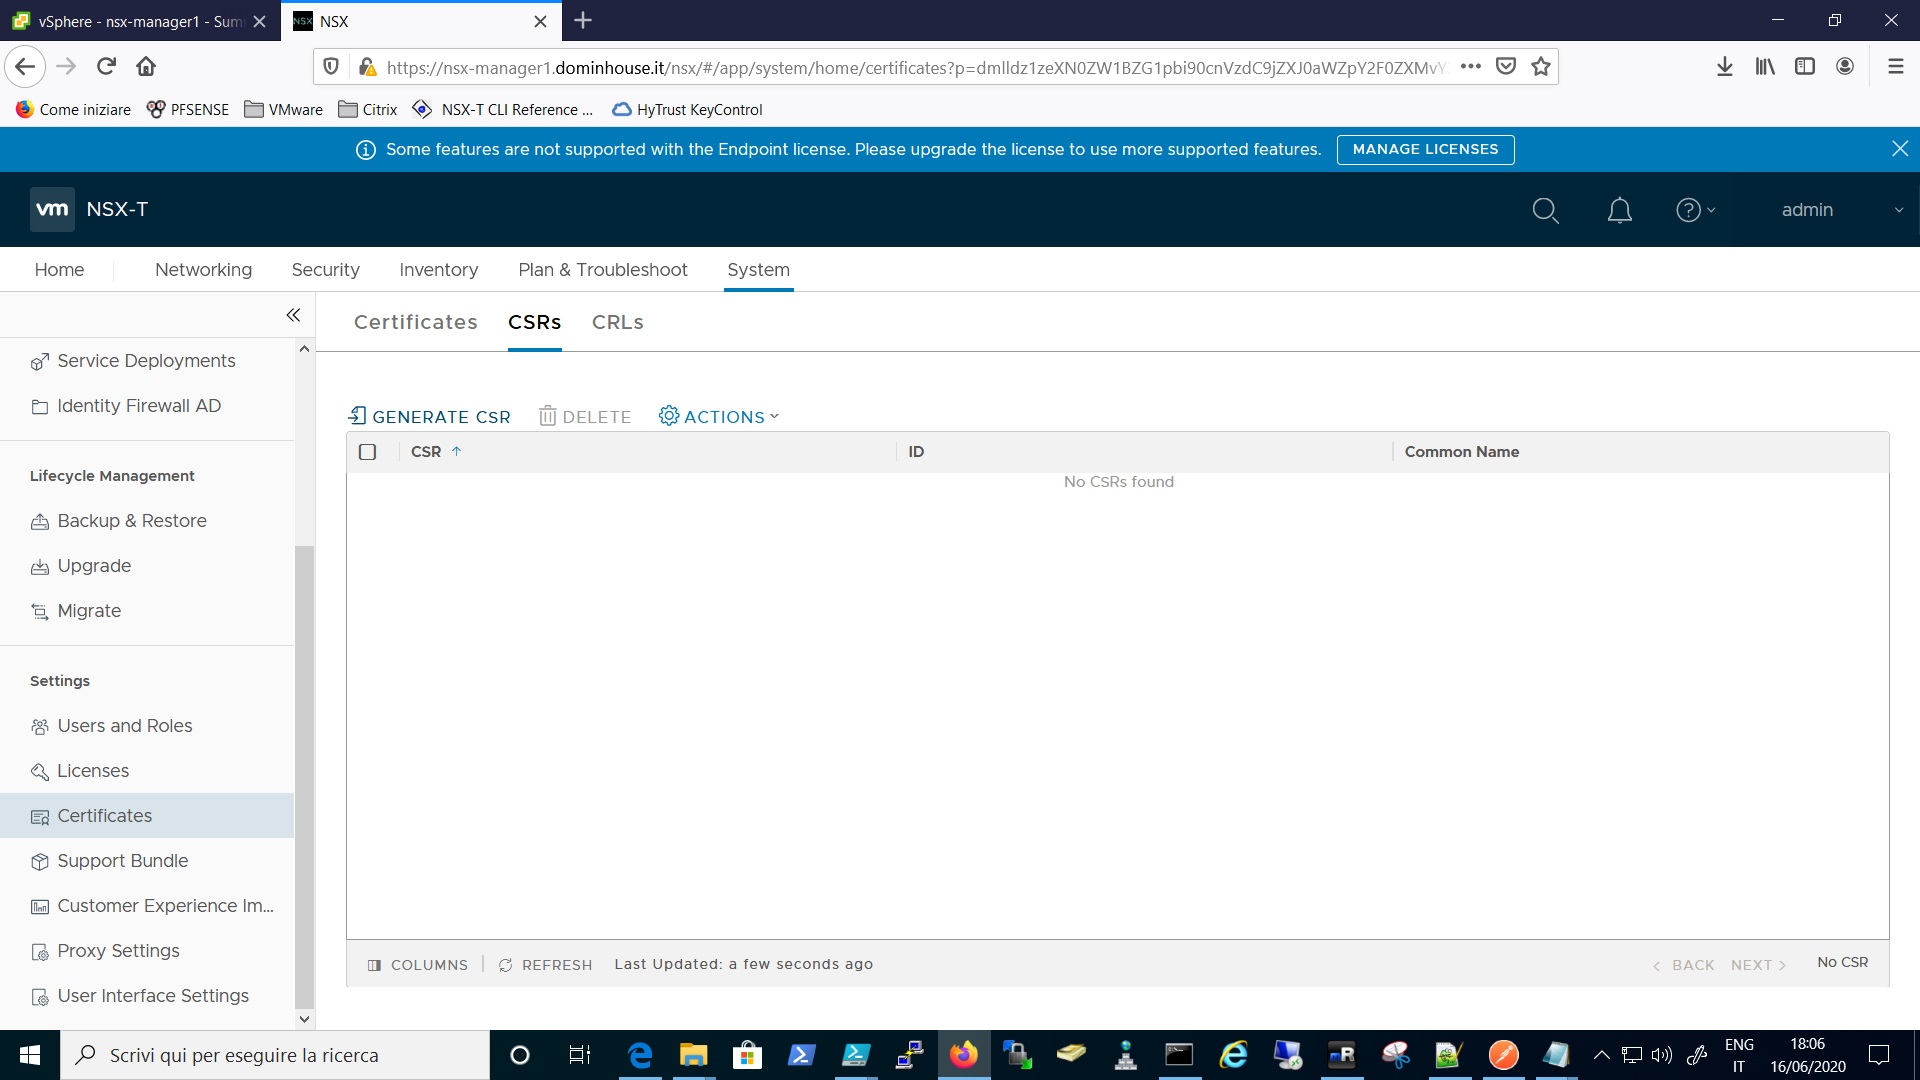
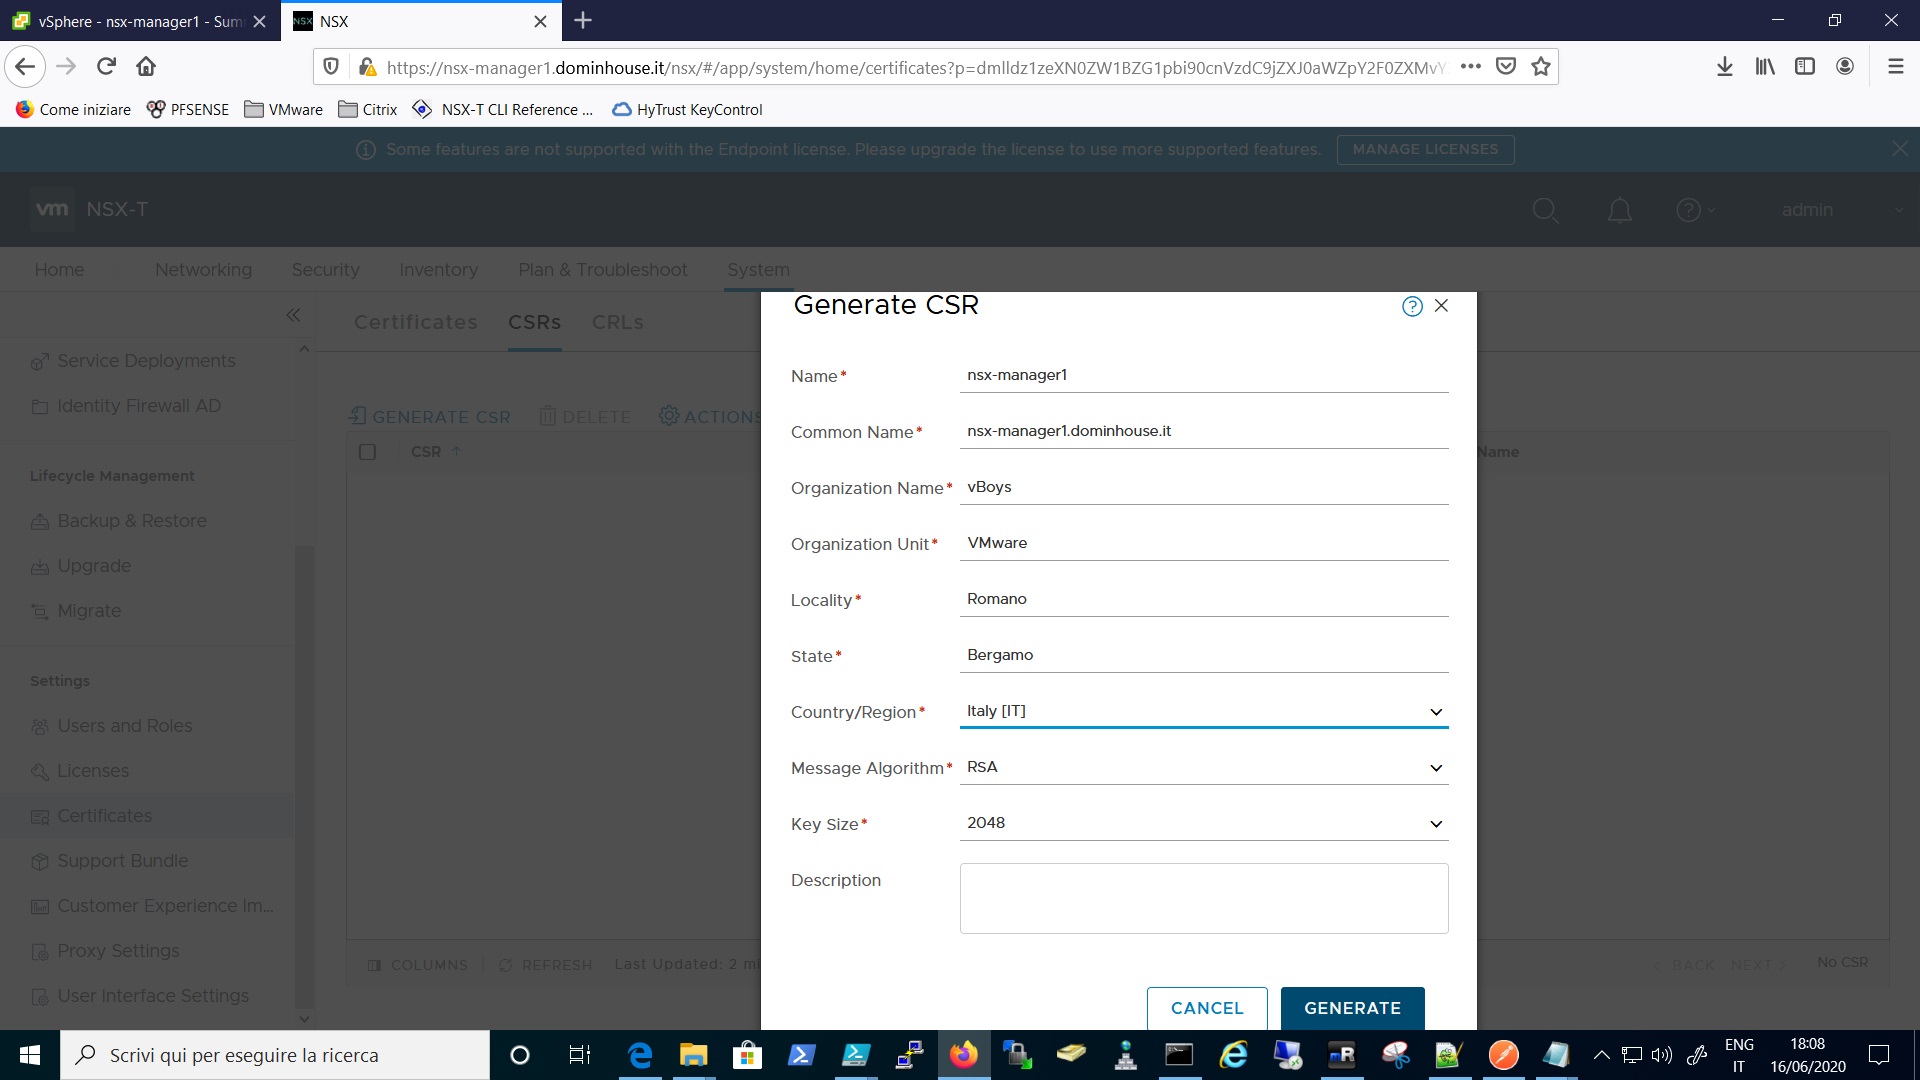
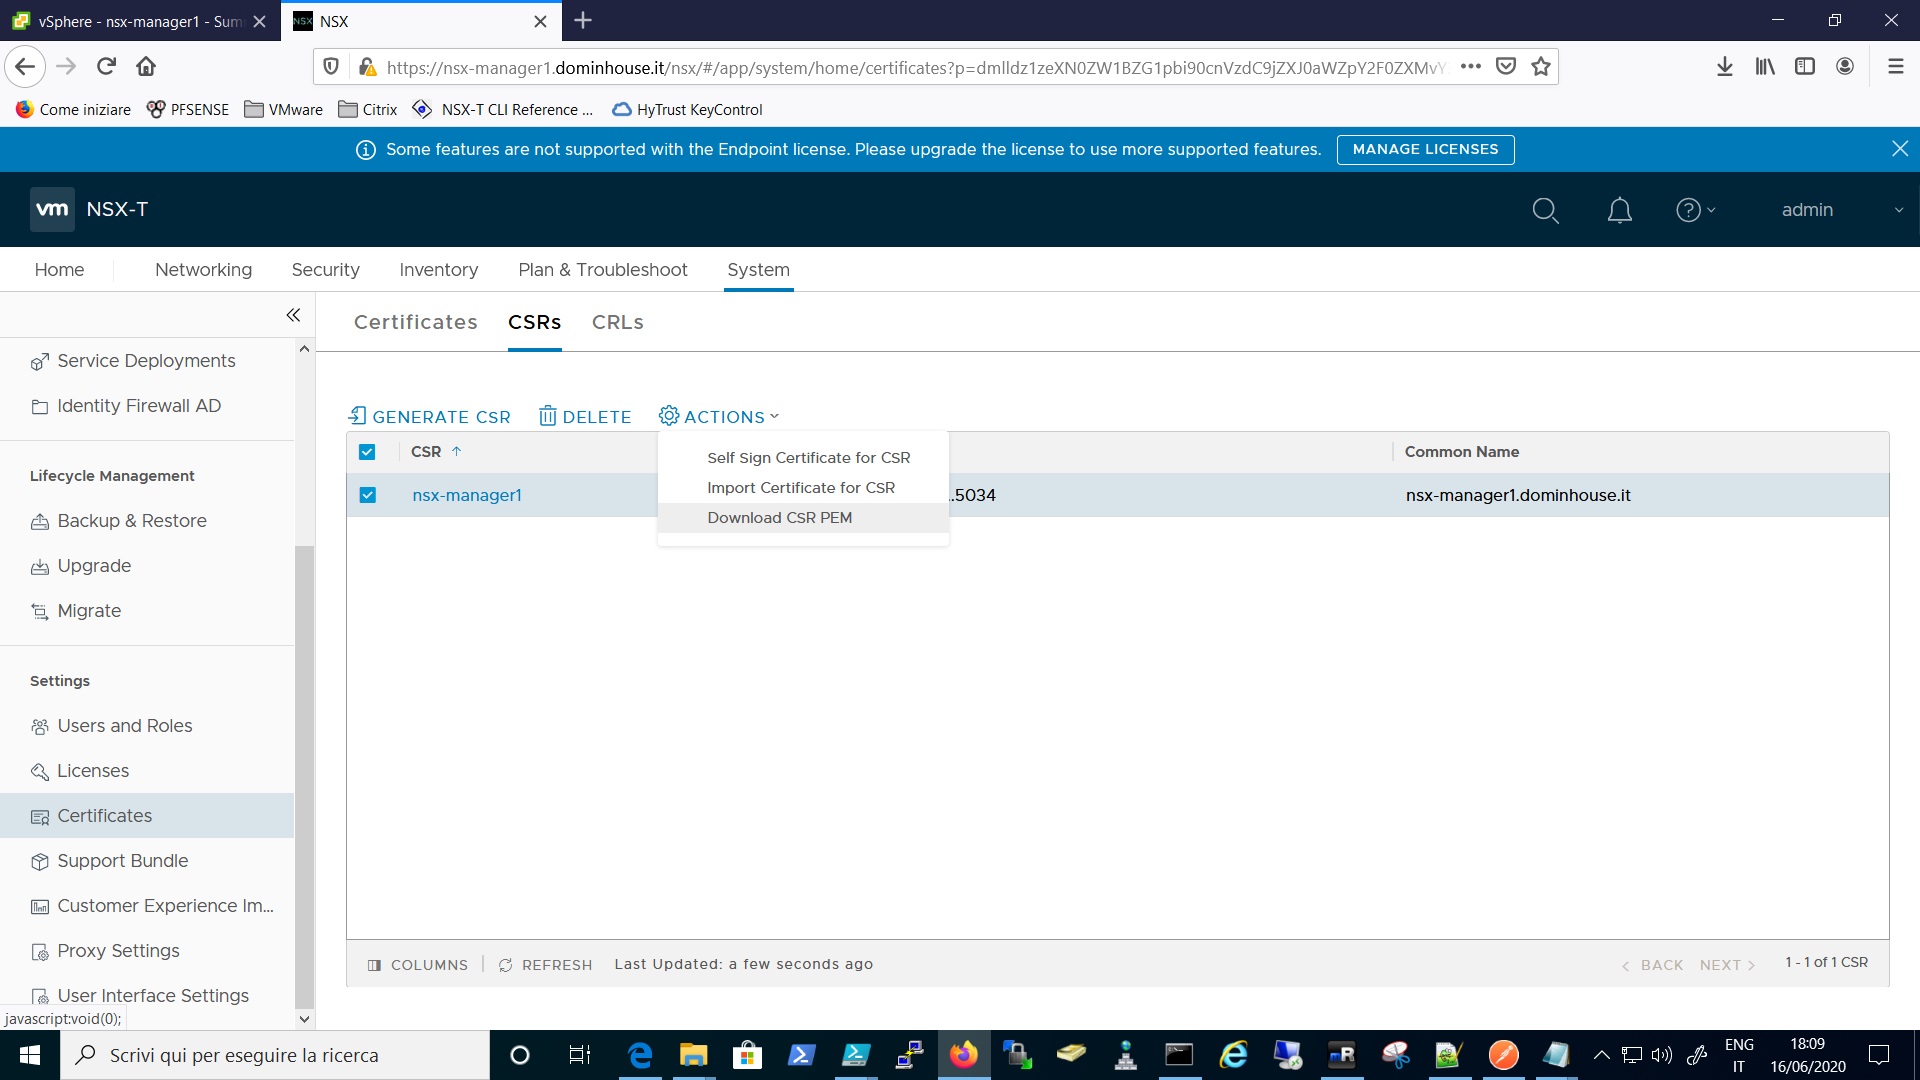
Then in order to apply a new custom certificate, I will need first to login to the NSX-Manager UI and create the CSR in the Certificates utility available on the System section. After that I will be able to download the CSR and use it to have a new certificate signed by my enterprise CA.
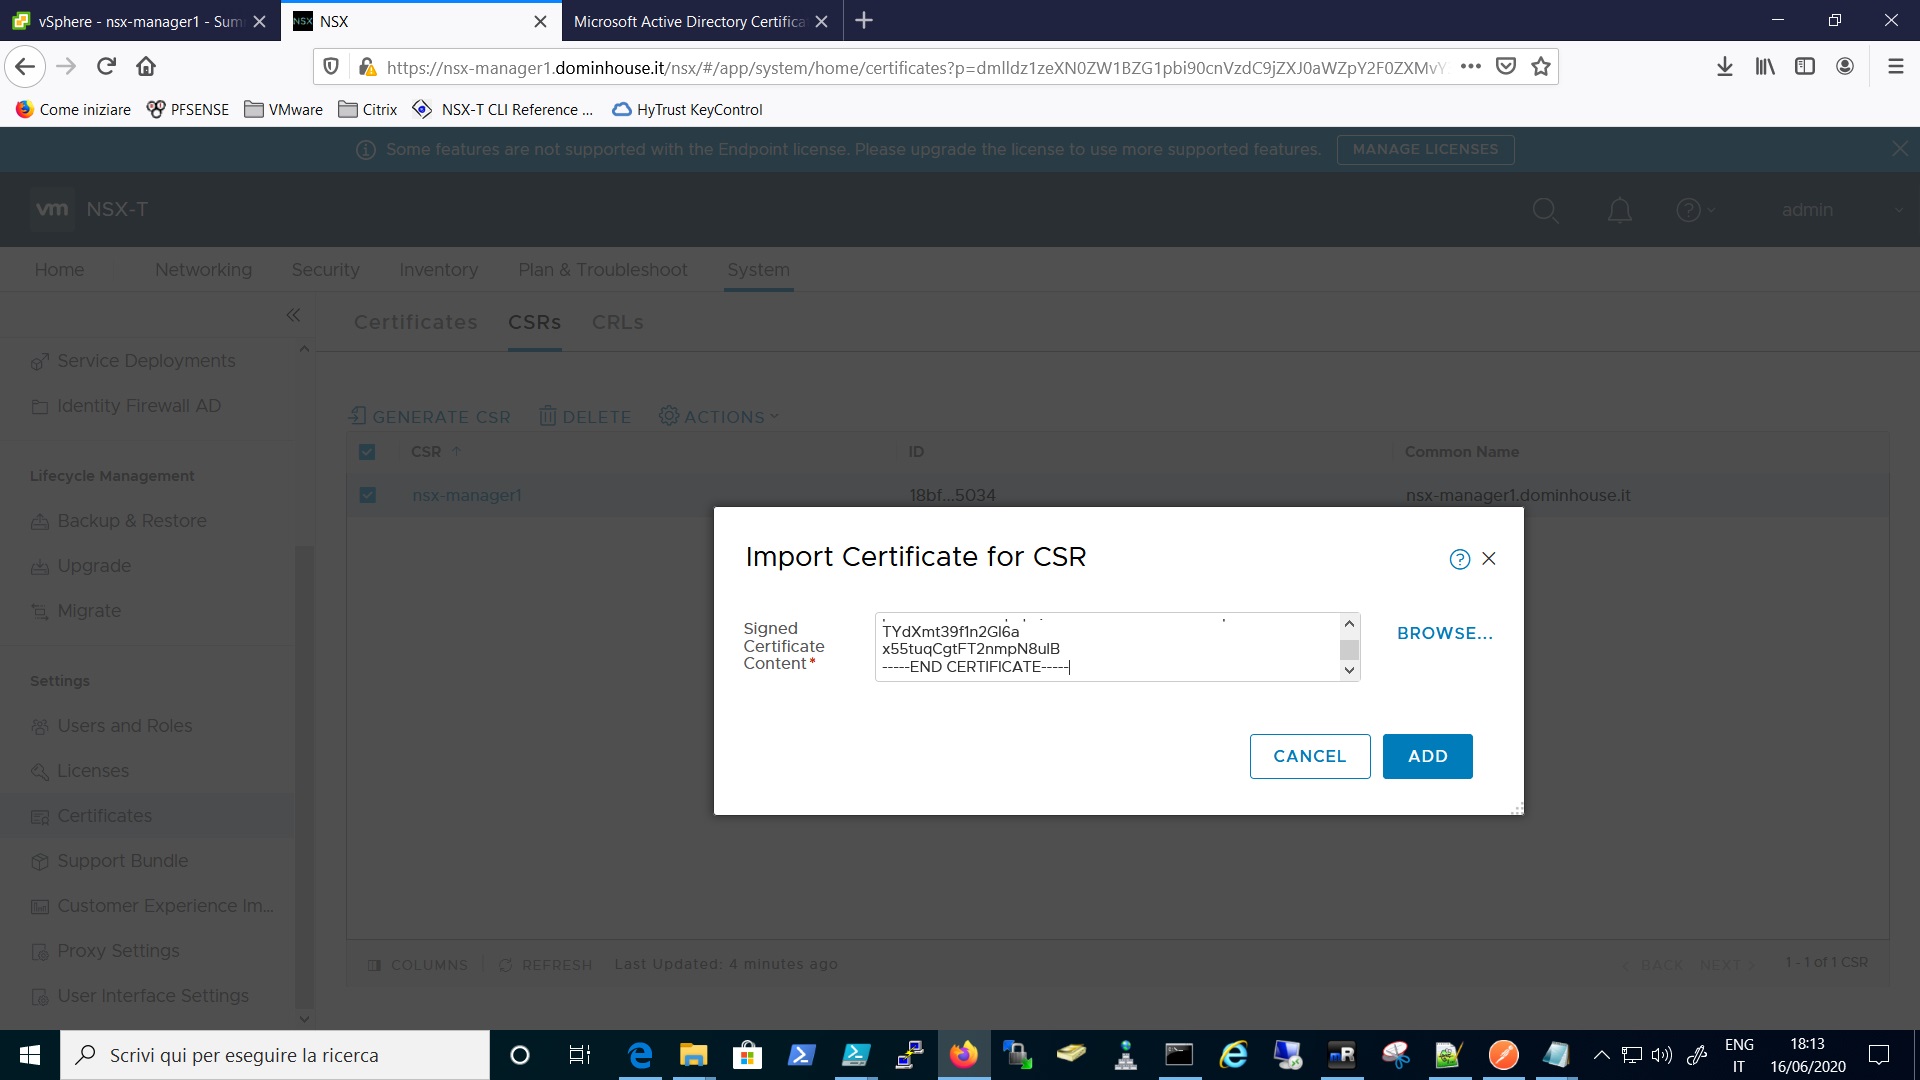
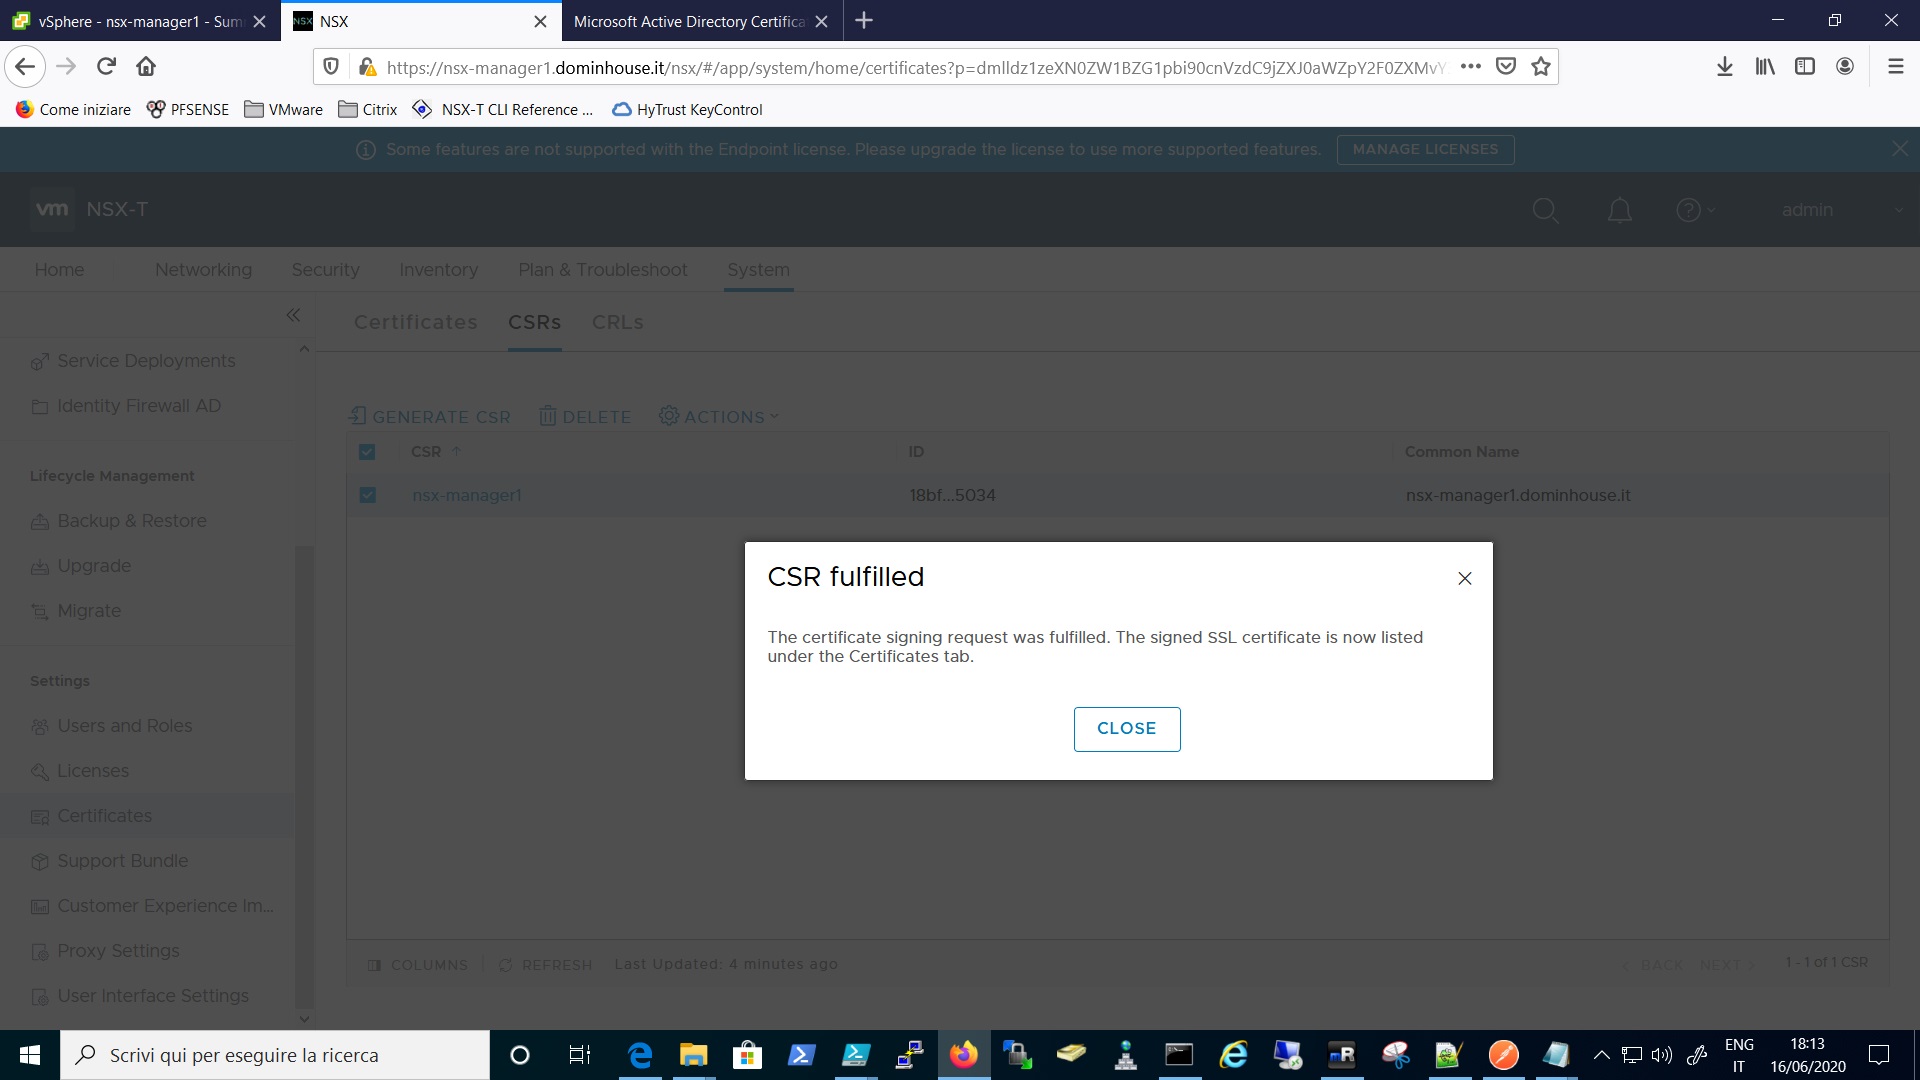
After that, I’ll use the import certificate option in the CSRs section of the NSX Manager, remember that the certificate you should import must have the full certification chain, for example:
—–BEGIN CERTIFICATE—–
NSX Certificate
—–END CERTIFICATE—–
—–BEGIN CERTIFICATE—–
CA Certificate
—–END CERTIFICATE—–
If you have a subordinate CA:
—–BEGIN CERTIFICATE—–
NSX Certificate
—–END CERTIFICATE—–
—–BEGIN CERTIFICATE—–
Subordinate CA Certificate
—–END CERTIFICATE—–
—–BEGIN CERTIFICATE—–
CA Certificate
—–END CERTIFICATE—–
After that, I can submit the API command via the Postman app in order to change the certificate to my NSX-T Manager Node:
POST:
“https://<nsx-mgr or vip>/api/v1/cluster/api-certificate?action=set_cluster_certificate&certificate_id=”
As you can see there is an ERROR above that basically block my API request. The issue is the validation of my certificate, as stated on the following KB: https://kb.vmware.com/s/article/78794.
In my case, my choice is to disable the CRL check on the manager via a specific API command:
GET https://nsx-manager-fwdn/api/v1/global-configs/SecurityGlobalConfig
with it you will get something similar to this:
You will the previous output for disabling the “crl_checking_enabled” parameter using the previous command but with some additional configuration on postman:
As you can see I still get an error because the API Call is not able to recognize the Content of my call.
In order to let the command going ahead I need to configure on the Headers section of postman with the following parameter:
Key = Content-Type Value = application/json
You can see this configuration on the image below
After that I can re-run the previous command and disable the crl_checking, you can verifying it also with the GET command I used at the beginning to get the SecurityGlobalConfing output.
Then I try again to apply the certificate to the manager and voilà! no error, check the following image
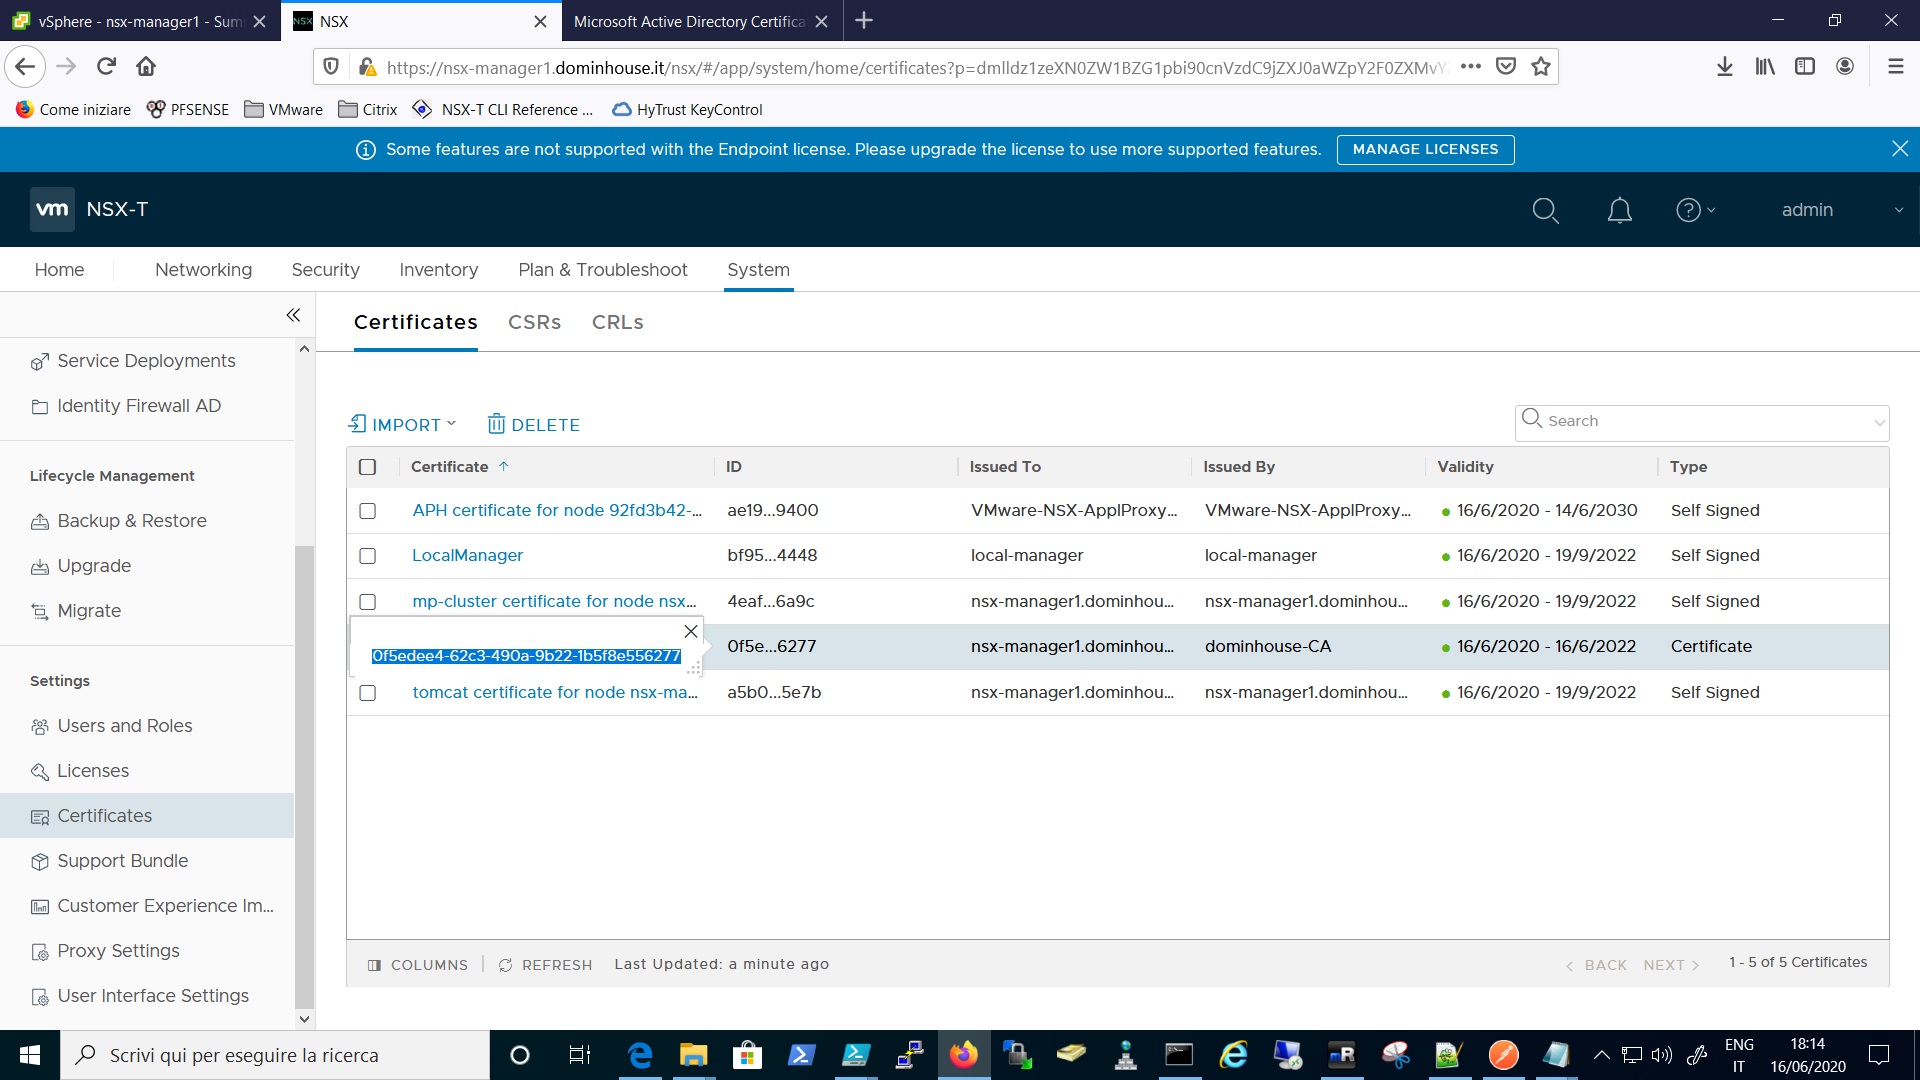
I can now reload the NSX-Manager UI and see the new certificate is in place.
That’s all, I hope this will be informative, if you have any question just drop a comment.
